Most people have used a tape measure at some point in their lives. We commonly use them for simple measurements without thinking too much about them. But tape measures are chock full of features that if we learn about can ensure we use them properly and get accurate measurements.
The tips and tricks of tape measures are features and uses that construction professionals and others know about but the average user may not. I’ll break down and explain each part of a tape measure so you’ll be using one like a pro too.
1) Why Is The Tape Measure End (Hook) Loose?
- The end or hook is loose on purpose.
- The hook is designed to be able to slide or move along it’s rivets exactly a 1/16 of an inch.
- The hook is 1/16″ thick.
- The tape measure is actually 1/16″ short.
2) What Is The Slot In The Hook For?
- The slot is called a nail and screw grab.
- The slot allows you to place the hook over a nail or screw head to hold it in place. Then you can take your measurement.
3) Why Is There A Serrated Edge On the End Or Hook?
- This is a simple tool to scribe or etch a mark on the surface.
- You can use the serrated edge instead of a pencil if one is not handy.
4) Why Is A Tape Measure Curved?
5) Why Does A Tape Measure Have A Diamond On It?
- These marks are called ‘truss marks’.
- The marks are commonly shown for special engineered floor trusses that use this spacing.
- They are stronger or can support more weight than traditional lumber and so can be spaced wider distances.
- This allows you to have 5 of these trusses per 8 feet exactly. Traditional lumber is spaced at 16″ or 24″ segments which give even spacing per 4 feet.
6) Use The Base Length In Your Measurements
- The base of the tape measure lists the length of it.
- This is handy if measuring an inside length.
- Add the length of tape to the length of the base for a total distance.
Parts Of A Tape Measure

- Blade – The blade or tape is the working part of the tape measure. It has measurements printed along it’s length.
- Hook – The hook is attached to the blade at it’s end. It is used to assist in holding the blade in place.
- Thumb Lock – The thumb lock holds the blade in an extended position for taking measurements.
- Case – the case simply houses all the internal components of the tape measure.
- Belt Clip – One side of the tape measure has a belt clip to attach and carry purposes.
Brief History Of The Tape Measure
The Smithsonian National Museum Of American History states that James Chesterman (1795-1867), who was a metal worker in England, invented the spring rewinding tape measure. “In 1821 Chesterman received a British patent for a method of using a spring to rewind measuring tapes automatically.“
They also state that a “six-foot-long tape used for commerce must be accurate to within 1/32 of an inch.”
What Are The Lines On A Tape Measure?
The tape measure markings are explained below.
For a tape measure displayed in feet and inches, it is as follows.
- The longest mark between each inch shows 1/2″ as it is halfway.
- The second-largest mark shows 1/4″.
- The next is 1/8″ and finally the shortest is 1/16″.

Conclusion
While it’s true many of us use a tape measure from time to time, not everyone knows all of its secret functionality. These handy functions of a tape measure such as knowing why the hook slides as well as just knowing how to read the markings will make for accurate measurements.
- Eufy Scale Troubleshooting | How To Fix
 Looking for Eufy scale troubleshooting to resolve issues you are having? This article goes step by step through troubleshooting procedures. Eufy scale troubleshooting will get to the cause of issues encountered and get the scale working properly again. How To Fix Eufy Scale Not Working I’ve tried to cover questions users frequently have with their Eufy scale. Let’s go through them step by step. Do … Read more
 - Flushing Water Heater Sediment Like a Pro: The Homeowner’s Handbook
 Ensuring your water heater remains efficient and effective is crucial for any household, yet sediment buildup can significantly compromise its performance. This article will guide you through understanding why sediment accumulates, the issues it can cause, and provide straightforward steps to safely flush your water heater at home, saving you time and possibly extensive repair costs. It’s a common problem, yet many homeowners overlook the … Read more
 - Delta Touch Faucet Not Working? Here’s What to Do!
 Navigating the complexities of modern home technology can occasionally present challenges, such as those encountered with the Delta Touch Faucet. This guide is designed to simplify these challenges by providing detailed solutions to common issues, ensuring your faucet functions optimally with minimal hassle. Delta Touch kitchen faucet troubleshooting can resolve your problems by following the procedures below and getting the faucet working again. How To … Read more
 - What Does “SE” Mean on My Samsung Washer?
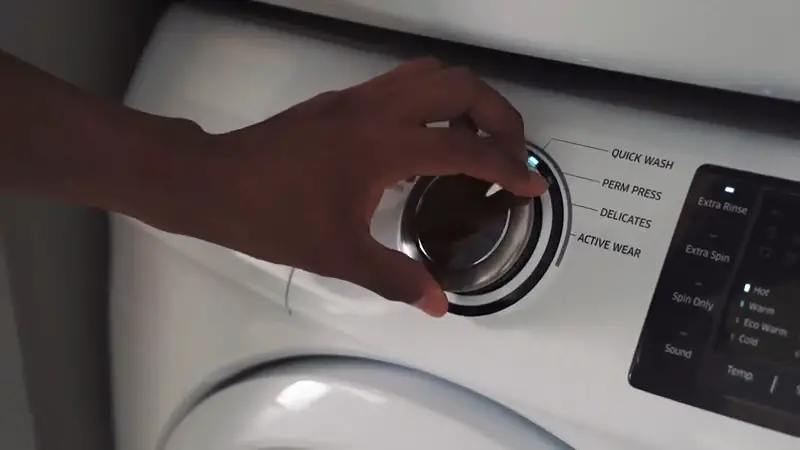 Seeing the dreaded “SE” error code on your Samsung washer can be frustrating, but don’t panic. This guide will help you understand what it means, diagnose the cause, and walk you through potential solutions to get your laundry cycle back on track. Understanding the “SE” Error First things first, what exactly does “SE” mean on a Samsung washer? It’s an indication that your machine is … Read more
 - How to Disable the Touch Feature on a Delta Faucet
 Sometimes the convenience of a touch-activated faucet isn’t so convenient – like when you’re cleaning, have messy hands, or maybe the feature is just behaving a bit erratically. If you need to temporarily or permanently disable your Delta touch faucet this article tells you how. The process is quick and painless. Steps to Turn Off Touch Feature on a Delta Faucet For those moments when … Read more
