To help you maintain peak performance from your Nespresso machine, we’ve put together this guide on descaling. Follow these steps diligently to keep your coffee experience at its best
- Descaling For Nespresso Machines
- What Is Descaling
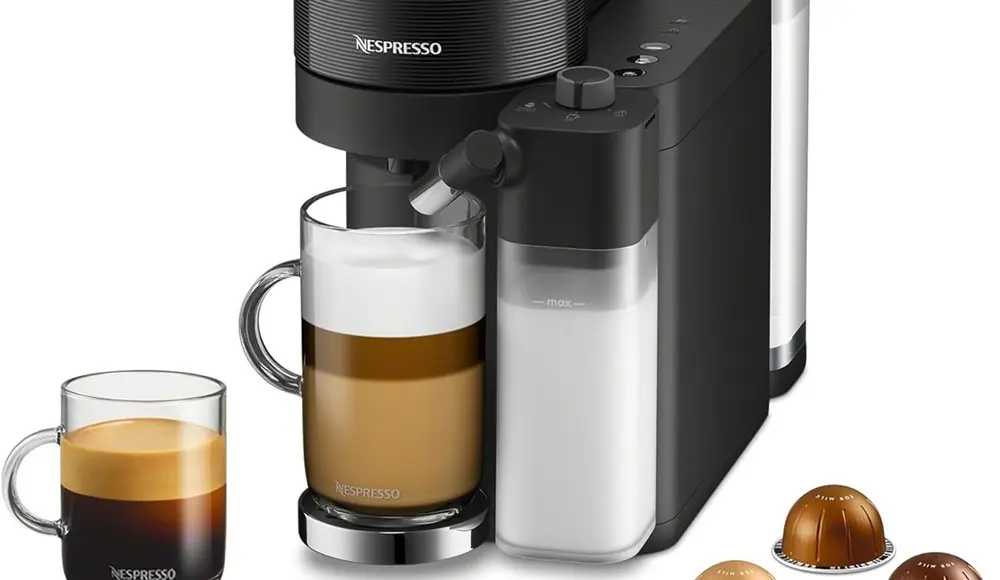
As a proud owner of a Nespresso machine, you already know the joy it brings to your morning routine. The rich aroma and velvety smooth taste of each cup are unparalleled.
However, to ensure that your machine continues to deliver the perfect brew every time, regular maintenance is essential. That’s where descaling comes into play.
Descaling is an important process that removes mineral deposits, calcium buildup, and other impurities that accumulate over time inside your Nespresso machine. These substances can affect the flavor and quality of your coffee, as well as hinder the performance of your beloved appliance.
- Step 1: Gather Your Materials
- Step 2: Preparation
- Step 3: Preparing the Descaling Solution
- Step 4: Initiating Descaling Mode
- Step 5: Rinsing
- Step 6: Final Rinse
- Step 7: Cleaning The Machine
- Understanding the Descale Indicator and When to Descale
- Tips and Tricks for a Successful Descale
- Troubleshooting Common Issues during the Descale Process
- Frequently Asked Questions about Descaling Process
THIS POST MAY CONTAIN AFFILIATE LINKS. As an Amazon Associate, I earn from qualifying purchases. PLEASE READ MY DISCLOSURE FOR MORE INFO.
Nespresso Descaling Guide: Keeping Your Machine in Top Shape
Step 1: Gather Your Materials
Before starting the descaling process, make sure you have everything you need.
You’ll require:
- A descaling kit specifically designed for Nespresso machines (Amazon Affiliate Link).
- Fresh water, and an empty container capable of holding at least one liter.
Note: Nespresso strongly recommends the use of their own descaling kit for this process. While there are other methods and products available – vinegar, for instance, is often suggested – these alternatives may not be as effective. Moreover, they could potentially harm your machine. The Nespresso descaling kit has been formulated to ensure optimal cleaning while protecting the inner workings of your coffee machine. Using this kit delivers the best results and helps prolong the life of your Nespresso.
Step 2: Preparation
Ensure that there are no capsules inserted in the brewing unit before beginning the process. Empty any excess water from both the drip tray and capsule container.
Step 3: Preparing the Descaling Solution
Now that you’re ready with all your necessary materials, it’s time to prepare the descaling solution. The amount of solution to water varies based on the type of Nespresso machine you have:
- For Nespresso Vertuo machines, you will need to mix 500ml of water with one packet of Nespresso descaling solution.
- For Nespresso Original machines, the ratio is 500ml of water to one packet of Nespresso descaling solution.
- For the Nespresso Creatista and Lattissima ranges, two packets of descaling solution need to be dissolved in 500ml of water.
Note: Always ensure to use the correct proportion of water to descaling solution for your specific machine. Doing so will ensure effective descaling while protecting your machine from any potential damage. Always refer to your machine’s user manual or the instructions on the descaling kit for the most precise ratios.
Step 4: Initiating Nespresso Descaling Mode
Place an empty container under the coffee outlet to collect any liquid during descaling. Switch on your Nespresso machine and activate descaling mode.
This mode may differ between models; consult the user manual if unsure about how to initiate it.
Detailed below are instructions for three popular models.
Nespresso Vertuo
- Press the button and hold it for at least 7 seconds.
- The machine will now start blinking rapidly, indicating that it’s in descaling mode.
- Begin the descaling process by pressing the button. The descaling solution will run through your machine and into the container placed below the outlet.
Nespresso Original
- Press the two buttons located on the sides of the machine simultaneously and hold them for three seconds.
- The buttons will blink rapidly to indicate the machine has entered descaling mode.
- Press the Lungo button to start the descaling process.
Nespresso Lattissima
- Hold the power button for 5 seconds. The clean alert light will then come on.
- Open the steam connection knob. The descaling solution will flow through into your container.
Note: For all models, do not press any other buttons once the machine is in descaling mode. Doing so may interrupt the process, and you’ll have to restart from the beginning. Always rinse the water tank thoroughly once the descaling process is over, and run a cycle with just fresh water, to ensure no descaling solution remains in the machine.
Step 5: Rinsing Your Nespresso
After the solution has passed through the machine, empty and rinse both the water tank and drip tray thoroughly. Refill the water tank with fresh water only.
Step 6: Final Rinse
Repeat step 5 using only clean water to flush out any remaining residue from the descaling solution.
Step 7: Cleaning The Nespresso Machine
Wipe down the exterior of your Nespresso machine with a damp cloth. Clean the capsule container and drip tray thoroughly before reinserting them into the appliance.
Congratulations, you have successfully descaled your Nespresso machine!
For optimal results, it is recommended to perform this process every three months or after every 300 capsules, whichever comes first.
Remember, maintaining your Nespresso machine regularly will not only enhance the quality of your coffee but also prolong its lifespan. Cheers to many more delicious cups!
Understanding the Descale Indicator and When to Descale
Now that we understand the importance of descaling, let’s take a closer look at the descale indicator on your Nespresso machine and learn when it’s time to descale.
The descale indicator is a helpful feature that alerts you when your machine needs to be descaled. It usually appears as a blinking light or a message on the display panel.
Paying attention to this indicator is crucial because descaling at the right time ensures the optimal performance of your machine.
So, how do you know when it’s time to descale?
Well, there are a few signs to look out for. If your coffee takes longer to brew, if the water flow seems weaker than usual, or if the taste of your coffee is not as rich and flavorful as before, these are all indications that descaling is needed.
It’s important not to ignore these signs and to descale your machine promptly.
In the next part, we will guide you through the step-by-step process of descaling your Nespresso machine.
Tips and Tricks for a Successful Descale
Now that you know how to descale your Nespresso machine, let’s explore some tips and tricks to ensure a successful descaling process.
- Tip 1: Use the Right Descaling Solution It is important to use the descaling solution recommended by Nespresso for your specific machine model. Using other solutions may not effectively remove mineral deposits and could potentially damage your machine.
- Tip 2: Follow the Instructions Carefully When preparing the descaling solution, make sure to follow the instructions provided with the descaling kit. The correct ratio of solution to water is crucial for optimal descaling results.
- Tip 3: Remove and Clean Removable Parts Before starting the descaling process, remove any removable parts from your Nespresso machine, such as the drip tray and capsule container. Clean these parts separately using warm soapy water, rinse thoroughly, and dry before reassembling.
- Tip 4: Be Patient During the Descaling Cycle The descaling cycle may take some time to complete, depending on your machine model. It is important to be patient and allow the machine to thoroughly clean itself. Avoid interrupting the cycle or turning off the machine prematurely.
- Tip 5: Perform Regular Descaling Maintenance To keep your Nespresso machine in top shape, it is recommended to descale it every three to six months, or as indicated by the descale indicator. Regular descaling maintenance will prevent mineral buildup and ensure optimal performance.
- Tip 6: Clean and Store the Descaling Kit After completing the descaling process, clean and store the descaling kit properly. Rinse the descaling solution container and brush with water, and allow them to air dry before storing them in a clean and dry place.
By following these tips and tricks, you can ensure a successful descaling process and prolong the lifespan of your Nespresso machine. Now that you have mastered the art of descaling, you are ready to enjoy delicious coffee from your clean and well-maintained Nespresso machine.
Troubleshooting Common Issues during the Descale Process
Even when we stick to the instructions, things may not always go according to plan. Let’s discuss how to troubleshoot some common issues you might encounter during the descaling process. Troubleshooting Guide for Nespresso Coffee Machines
1. Error Messages or Malfunctions during Program Initiation
Error messages or malfunctions could occur due to various reasons, such as a programming glitch or a temporary malfunction.
Resetting your Nespresso machine can often fix these issues.
To reset your machine, turn it off, unplug it from the power source, wait for a few minutes, and then plug it back in and switch it on again.
If the error message persists, refer to your user manual or contact Nespresso’s customer service for assistance.
2. Inadequate Water Flow due to Clogged Pipes or Valves
Inadequate water flow during descaling can be a sign of clogged pipes or valves, often caused by mineral buildup.
To fix this, you can try running the descaling process again with a new batch of descaling solution.
If this doesn’t work, it may be time to call in professional help. Remember, it’s always better to seek professional help than to risk damaging your machine by attempting to dismantle it yourself.
Your machine is an investment, and taking proper care of it will ensure many more years of delicious coffee.
For more detailed troubleshooting and professional assistance, it is always best to directly contact Nespresso support. You can reach them through the Nespresso Support page. They offer comprehensive help and advice to maintain the optimal performance of your machine.
Frequently Asked Questions about Descaling Process
Q1: How often should I descale my Nespresso machine?
A1: The frequency of descaling largely depends on the usage and the type of water you use. Typically, Nespresso recommends descaling every three months or after 300 capsules, whichever comes first. However, if you use hard water, you might need to descale more frequently.
Q2: Can I use vinegar instead of the descaling solution?
A2: It’s not recommended to use vinegar as a descaling agent. Vinegar might not effectively remove all mineral deposits and could potentially harm your machine. For best results, use the descaling solution recommended by Nespresso for your specific machine model.
Q3: What do I do if the descale indicator light keeps blinking even after descaling?
A3: If the descale indicator light continues blinking after descaling, it’s possible that the machine didn’t exit the descaling mode properly. Try resetting the descaling mode as per the user manual. If the light still keeps blinking, contact Nespresso’s customer service for assistance.
Q4: How long does the descaling process take?
A4: The descaling process might take up to 20 minutes, depending on your machine model. It’s crucial to be patient and allow the machine to thoroughly clean itself.
Q5: Can I use my machine while it’s in descaling mode?
A5: During the descaling process, it’s not advisable to use your machine for brewing coffee. The descaling solution needs time to effectively remove mineral buildup. Interrupting the descaling cycle could leave some mineral deposits behind.
By understanding these common questions about the descaling process, you can take better care of your Nespresso machine and ensure many more years of delicious coffee.
- Self-Watering Gardens for Small Spaces: Grow Big in Tiny Places
- How To Conserve Water At Home | How Can I Lower My Water Bill?
- Outdoor Pizza Oven Buying Guide | How to Buy
- Top Stand Mixers on Amazon: Most Wished For
- Samsung Robot Vacuum Troubleshooting + Advice

I’m J.S., I created and am the content manager at DIYHouseSkills.com. I do the research and write the articles that appear on this website. I’ve learned many household skills during my life and think it’s important to at least know the basics so that you can save yourself time and money… READ FULL BIO >