If your Kenmore washer is acting up, a reset might be the simple solution to get it back in working order.
Here are the step-by-step instructions to guide you through the reset process for different models.
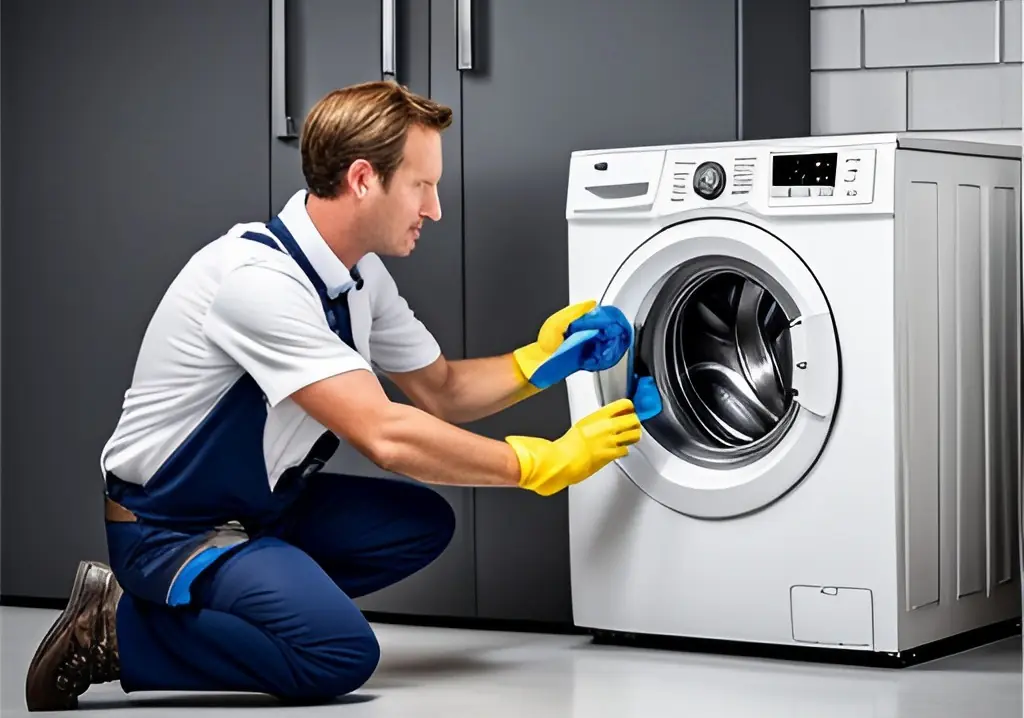
Reset Front-Loading Kenmore Washers
Front-loading washers are a breeze to reset if you follow these simple instructions.
Step 1: Power Off and Unplug
Start by powering off your washer using the machine’s power button. Once it’s off, unplug the washer from the wall. This action ensures the electronics reset and any minor glitches are resolved.
Step 2: Wait and Reconnect
Wait at least five minutes before plugging your washer back in. This brief period allows for a full reset. After the wait, plug the machine back into the power outlet.
Step 3: Cycle and Options
To select the reset function on some models, you may need to turn the Program Selector dial to “Off” or to a specific reset mode, which could be “Drain & Spin” or “Rinse & Spin.”
Step 4: Initiating the Reset
Press and hold the “Spin Speed” and “Soil Level” buttons at the same time. Keep them pressed while you turn the washer back on. Release the buttons and the machine will start the reset sequence.
Step 5: Confirm the Reset
Your washer’s display screen will show a countdown or a series of flashing lights to indicate the reset is in progress. Once complete, the washer will beep or display a message to confirm the reset.
Reset Top-Loading Kenmore Washers
For top-loading washers, the reset process is just as straightforward.
Step 1: Turn Off and Unplug
Turn off the washer using the power button and unplug it from the electrical socket.
Step 2: Pause and Power On
Wait for about five minutes before plugging the washer back in. This pause gives the appliance time to reset.
Step 3: Dial in the Reset Cycle
Turn the Program Selector to the beginning of a new cycle, which may be indicated by the “Normal” cycle button lighting up.
Step 4: Button Sequence
Press and hold the “Start” button for five seconds. Quickly release it and press and hold the “Cancel” button for another five seconds. Release the “Cancel” button. The washer is now in reset mode.
Step 5: Monitor the Indicators
Watch the control panel for a beep or flashing lights, which indicates that the reset sequence has started. After a few minutes, the washer will signal the end of the reset.
Troubleshooting the Kenmore Washer Reset
If your washer doesn’t respond after you’ve followed these reset steps, there are a few things you can check:
- Ensure the power outlet is working by plugging another device into it.
- Verify that the power cord is not damaged and properly connected to the washer.
- Look at the circuit breaker or fuse box to confirm the one that controls the washer is not tripped or blown.
When the Reset Doesn’t Work
In the rare event that the reset doesn’t resolve the issue, it may be time to consider additional steps such as:
- Double-checking the washer’s user manual for model-specific troubleshooting guidance.
- Contact Kenmore’s customer service for expert assistance or to schedule a technician visit if your washer is still under warranty.
Step 1: Inspect Hoses and Connections
Simply check if the water supply hoses are properly connected and if the drains are not clogged. Sometimes, the washer can malfunction due to these external factors.
Step 2: Examine the Error Codes
Should your washer display any error codes, refer to the user manual’s troubleshooting section. Each code corresponds to a specific issue that can usually be resolved with clear instructions.
Step 3: Perform a Hard Reset
As a last resort before calling for help, you may want to try a hard reset. This means disconnecting the washer from power for about 30 minutes. After reconnecting, this could potentially resolve deeper electronic glitches.
Step 4: Seek Professional Help
If the above steps don’t bear fruit, it might be time to seek professional help:
- Contact Kenmore directly at their customer service hotline for personalized guidance. Be ready with your model number for a faster resolution.
A quick reset can often solve many issues with your Kenmore washer, and these step-by-step guides make it easy. Remember, proper maintenance and attentive troubleshooting can extend the life of your appliance and save you both time and money in the long run.
Understanding Kenmore Washer Error Codes
When troubleshooting your Kenmore washer, you might encounter several error codes on the display panel. Being familiar with these codes can provide insights into what may be causing the issue with your appliance.
Common Error Codes and Their Meanings
Code: F1
Meaning: This indicates a water supply issue. Ensure the hoses aren’t kinked and that the valves are fully open.
Code: F21 or F02
Meaning: These codes point to a draining problem. Check the drain hose for any clogs or bends.
Code: F28
Meaning: This signals a communication error between the washer’s components. A restart might help, but if it persists, contacting a technician is wise.
Code: F5
Meaning: The washer is experiencing issues with the lid lock. Make sure the lid is closed properly and that nothing is obstructing the lock.
Routine Maintenance Tips for Your Kenmore Washer
After successfully resetting your Kenmore washer, keeping it in top condition is crucial for long-term performance. We’ve all been there – a little hiccup with our appliances and we panic. But, I’ve learned that regular maintenance, like what I’m about to share, can prevent these moments. Let’s dive into some basic but essential maintenance tips that I’ve found to be lifesavers:
Monthly Cleaning Cycle
Step 1: Clean the Washer Drum
You should run a monthly cleaning cycle using a washer-specific cleaner or a homemade solution of hot water and distilled white vinegar. This will help keep the drum free from any residue and odors.
Step 2: Inspect the Rubber Seal
For front-loading washers, the rubber door seal can harbor moisture and mold. Wipe it down regularly with a mildew cleaner or a vinegar solution to prevent buildup.
Quarterly Hose Checks
Step 1: Inspect Water Hoses
At least every three months, check the hoses for any signs of wear, cracks, or leaks. It’s best to replace washing machine hoses every 3-5 years as a preventative measure.
Step 2: Ensure Proper Fit
Make sure that fittings are tight and secure, but also ensure they aren’t overly tightened as this could strip the threads or damage the rubber seals.
Yearly Deep Clean
Step 1: Service the Filter
Once a year, service the lint filter (if applicable) or any filters used in your washer to ensure they are clean and can do their job effectively.
Step 2: Clean the Dispensers
Soap and fabric softener dispensers can become clogged with residue. Remove and clean them thoroughly to ensure efficient distribution during cycles.
By incorporating these simple steps into your routine, you can keep your Kenmore washer running smoothly, reducing the need for resets and repairs.
Conclusion
We have navigated together through the simple reset steps that can revive your appliance and dove into the meaning behind those pesky error codes.
For further assistance, or to schedule a visit from a technician, please don’t hesitate to contact the Kenmore support team.
- DIY Secrets: Finding and Using the Bosch Ice Maker Reset Button
- Chest Freezer vs. Upright Freezer: Which Should You Buy?
- Say Goodbye to Stubborn Stains on Stainless Steel Pots
- Transform Your Morning Brew: Expert Tips for Better Coffee
- Effortlessly Remove Mold From Tile Grout with These Easy Steps

I’m J.S., I created and am the content manager at DIYHouseSkills.com. I do the research and write the articles that appear on this website. I’ve learned many household skills during my life and think it’s important to at least know the basics so that you can save yourself time and money… READ FULL BIO >
