
Caulking is a great way to seal up cracks and crevices in your home, and it can be used to waterproof joints between different types of materials. But what about caulking over grout? Can you do that? And if so, how?
In this blog post, I will explore the answers to these questions and provide some tips on how to caulk effectively.
THIS POST MAY CONTAIN AFFILIATE LINKS. As an Amazon Associate, I earn from qualifying purchases. PLEASE READ MY DISCLOSURE FOR MORE INFO.
Can You Caulk Over Grout?
Is it okay to caulk over grout? I hear this question a lot, and the answer is please don’t do it.
Some people will try to save time by caulking over the existing grout, but that’s a mistake. The caulk won’t bond well to the grout, and it’ll eventually peel away.
- First, let’s talk about what caulk is. Caulk is a flexible sealant that’s used to fill cracks and gaps. It comes in different colors, and it’s also available in clear.
- Grout on the other hand is a mixture of sand, cement, and water. It’s used to fill the gaps between tiles and helps bond these surfaces together. Note that grout is water-resistant and should be sealed.
So if your shower stall or tub has cracks in the grout, simply remove the old grout and apply fresh grout. It’s as simple as that.
- Purchase some matching premixed grout for your project.
- Apply the grout according to the instructions, but use a damp sponge to help.
- Remove any extra grout that has gotten on the tiles with the damp sponge or cloth.
- You’ll want to make sure the tiles are clean before the grout dries.
- Once dry run a dry cloth over the area and then apply grout sealer.
When Should Caulking Be Used?
Caulking should be used in a tub or shower stall where the tiles meet the tub. These two surfaces can move differently from each other; hence the need for flexible caulking.
Basically, use caulk between any two different surfaces to prevent water penetration.
You can use a caulking gun to apply a bead of caulk along the joint between the tile and the tub or wall. Be sure to smooth out the caulk with your finger before it dries.
Can You Caulk Without A Caulking Gun?
Yes, caulk comes in handy tubes that you can squeeze by hand. Just be sure to use a damp cloth to wipe away any excess caulk before it dries.
Can You Caulk Over Caulk?
Yes, you can caulk over caulk, but it’s not recommended. The new caulk may not adhere well to the old caulk, and it may eventually peel away.
It’s best to remove the old caulk and start with a clean surface before applying the new caulk.
This will ensure that the caulk bonds securely to the surface and creates a watertight seal.
When Should Grouting Be Used?
Grouting should be used when two surfaces meet and there is a need for something to fill the space and hold the surfaces together. This is typically done with tile, but can also be done with other materials.
Are you looking to give your tile a fresh new look? One way to do that is by painting the grout. This can be a quick and easy project, and it can make a big impact on the overall appearance of your room.
So What Happens When You Caulk Over Grout?
It might look good initially, but the caulk will eventually peel away. The caulk won’t bond well to the grout, and it’ll be more susceptible to water damage. So if your shower stall or tub has cracks in the grout, remove the old grout and apply fresh grout instead.
The Best Caulk For The Bathroom
When it comes to caulking the bathroom, there are a variety of choices to choose from. But for the best results, we recommend using silicone caulk.
Silicone caulk is a synthetic resin that cures to form a rubber-like seal. It’s durable, flexible, and resistant to water and moisture.
It can be used on a variety of surfaces, including tile, glass, porcelain, metal, and plastic.
It is available in different colors, so you can match it to your existing décor. It’s also available in clear, which allows you to see the grout lines between the tiles.
- A best-seller on Amazon is Gorilla Waterproof Caulk & Seal 100% Silicone Sealant.
- Another excellent caulk is GE Supreme Silicone Kitchen & Bath Sealant.
To apply silicone caulk, use a caulking gun. Apply a thin bead of caulk along the joint between the tile and the tub or wall. Be sure to smooth out the caulk with your finger before it dries.
How To Caulk
Before I look at how to caulk, it is important that you get the right equipment to help you with the job. Here are some of the things that you will need:
- A caulking gun – This will help you apply the caulk evenly.
- A utility knife – This will be used to cut the caulk tube open.
- A putty knife – This will help you smooth out the caulk.
- Caulk – You will need to choose a type of caulk that is compatible with your use.
- Grout sealer – This is optional but can be used to further waterproof the grout.
- Gloves- It is a good idea to wear gloves when working with caulk.
Now that you have the right equipment, let’s look at how to caulk over grout.
1. Clean the Area
You need to start by cleaning the area around the grout. Use a damp cloth to remove any dirt, debris, or soap scum. It is important to make sure that the surface is clean before you start caulking.
If there is an old caulk present, you will need to remove it before proceeding. Use a putty knife or utility knife to scrape away the old caulk.
2. Prepare the Caulk
Once the area is clean, you can prepare the caulk. Cut the tip off the caulk tube using a utility knife. Make sure that you cut at an angle so that the hole is small. You can always make it bigger if needed but it is difficult to make it smaller.
3. Test the Caulk
Before you start caulking, it is a good idea to test the caulk on a piece of scrap material. This will help you get a feel for how the caulk flows and how much pressure you need to apply.
4. Apply the Caulk
Now, you are ready to apply the caulk. Hold the caulking gun at a 45-degree angle and slowly squeeze the trigger. Apply even pressure as you move the caulking gun along the joint.
Try to maintain a consistent bead of caulk. If you need to take a break, release the trigger and then start again when you are ready.
5. Smooth the Caulk
Once you have applied the caulk, use a putty knife or your finger to smooth it out. Run the knife or your finger along the joint to remove any air bubbles and create a smooth, even bead of caulk.
6. Let the Caulk Dry
Now, you need to let the caulk dry. Follow the instructions on the caulk tube to see how long it needs to dry. In most cases, it will take around 24 hours for the caulk to fully cure.
Related: Mold can be a huge problem in any home. Not only is it unsightly, but it can also be dangerous to your health. How can you remove mold from tile grout?
Tips to Keep in Mind
Here are some important tips to keep in mind when caulking:
Choose the Right Type of Caulk
There are many different types of caulk available on the market, and not all of them are suitable for every use. For best results, choose a silicone-based caulk, as this will adhere well to a tub and tile.
Choose the Right Caulking Gun
A good quality caulking gun will make it easier to apply the caulk evenly. Look for a gun that has an adjustable trigger so that you can control the flow of the caulk.
Cut the Tip Off the Caulk Tube at an Angle
When cutting the tip off the caulk tube, make sure to do it at an angle. This will create a small hole that can be easily controlled.
Apply Even Pressure
When caulking, it is important to apply even pressure. This will help to create a consistent bead of caulk. If you need to take a break, release the trigger and then start again when you are ready.
FAQs
Grout can crack for a number of reasons, including structural movement, thermal expansion and contraction, and excessive weight.
No, caulk is not a suitable substitute for grout. Caulk is designed to fill in gaps and cracks, whereas grout is used to fill in the spaces between tiles.
To remove old grout, use a grout saw or utility knife to score the surface of the grout. Next, use a putty knife or screwdriver to pry the grout out of the joints. Finally, use a vacuum or damp cloth to remove any residual grout.
Can You Caulk Over Grout? – Summary
So there you go, it is best not to do it. Take the time to repair your grout if it is cracking and use caulk where it is intended.
Caulking is a great way to seal up the spaces between two surfaces, but it’s important to use the right type of caulk for the job. Silicone caulk is a good choice for sealing bathroom tiles, as it is durable, flexible, and resistant to moisture.

I’m J.S., I created and am the content manager at DIYHouseSkills.com. I do the research and write the articles that appear on this website. I’ve learned many household skills during my life and think it’s important to at least know the basics so that you can save yourself time and money… READ FULL BIO >
Other Maintenance Articles:
- Samsung Robot Vacuum Troubleshooting + Advice
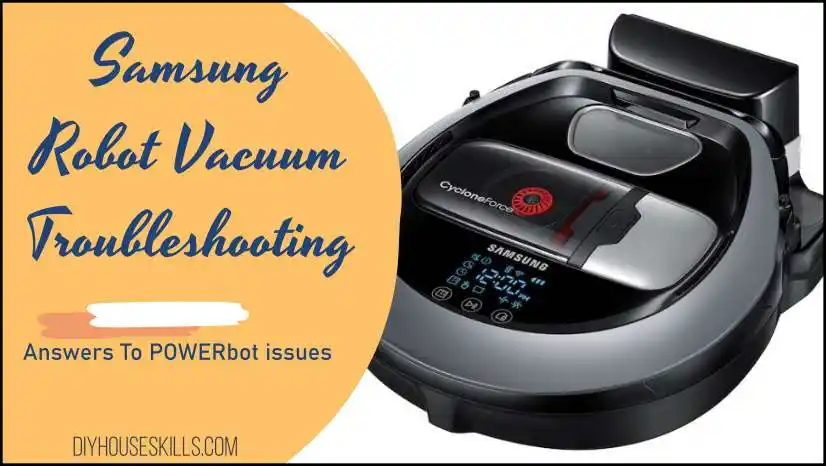 Samsung robot vacuum troubleshooting is for anyone experiencing issues with their POWERbot vacuum. Answers to your Samsung robot vacuum problems are covered in my article as I discuss the most common issues users have. Troubleshooting Samsung POWERbot Vacuums Robot vacuum problems can be a real headache. These intelligent devices make life easier when operating as… Read more: Samsung Robot Vacuum Troubleshooting + Advice
 - Instant Pot Problems, Best Guide To Fix
 Updated: 10/29/2022 It’s no fun when you attempt to use your Instant Pot and discover some problems with it. Whether it is not sealing correctly, leaking, or you see error codes, this guide will help you troubleshoot and fix those issues to get you back to cooking. Users of all levels can resolve their Instant… Read more: Instant Pot Problems, Best Guide To Fix
 - Coffee Maker Cleaning for a Tastier Daily Brew
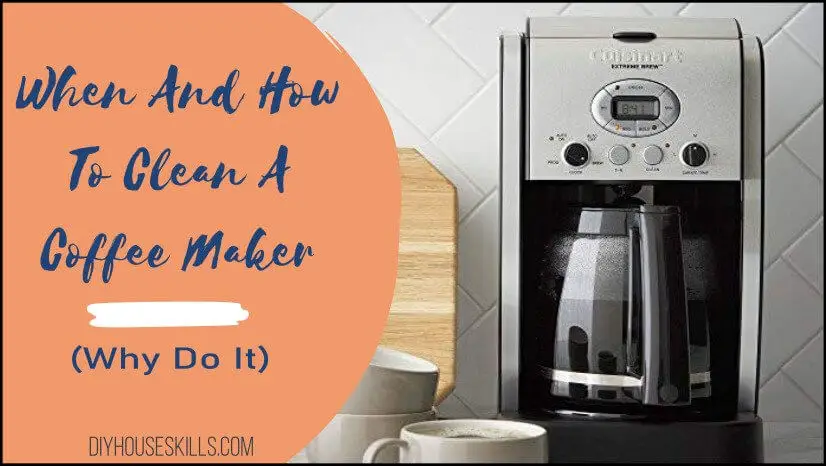 Despite their importance in our morning routines, coffee makers are often overlooked when it comes to regular cleaning. However, neglecting to clean your coffee maker can have a significant impact on the quality and healthiness of your daily brew. In this post, we will explore the reasons why regular cleaning of your coffee maker is… Read more: Coffee Maker Cleaning for a Tastier Daily Brew
 - How To Descale A Nespresso Machine: Instructions Guide
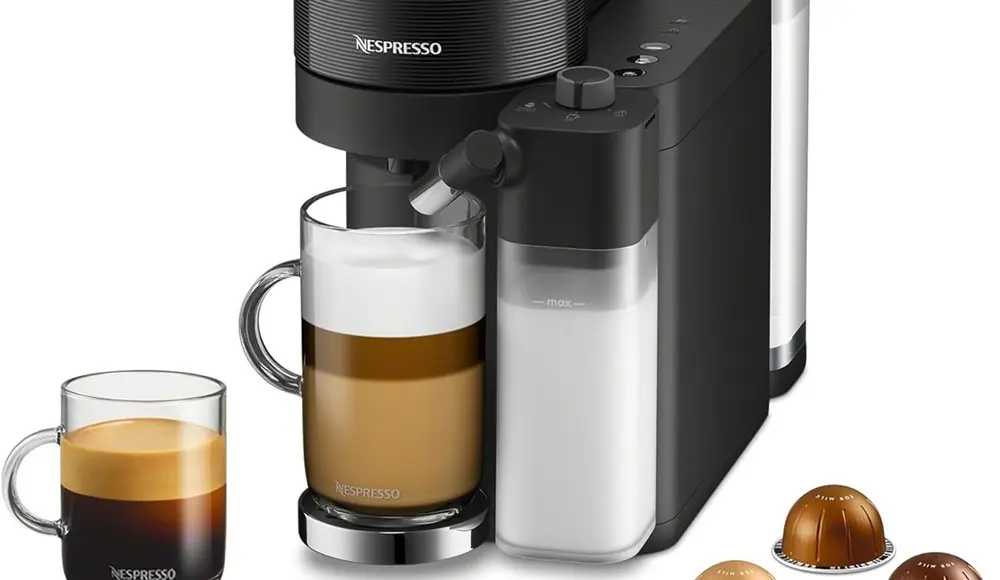 To help you maintain peak performance from your Nespresso machine, we’ve put together this guide on descaling. Follow these steps diligently to keep your coffee experience at its best As a proud owner of a Nespresso machine, you already know the joy it brings to your morning routine. The rich aroma and velvety smooth taste… Read more: How To Descale A Nespresso Machine: Instructions Guide
 - Easy Dishwasher Cleaning: How to Remove Odors, Bacteria
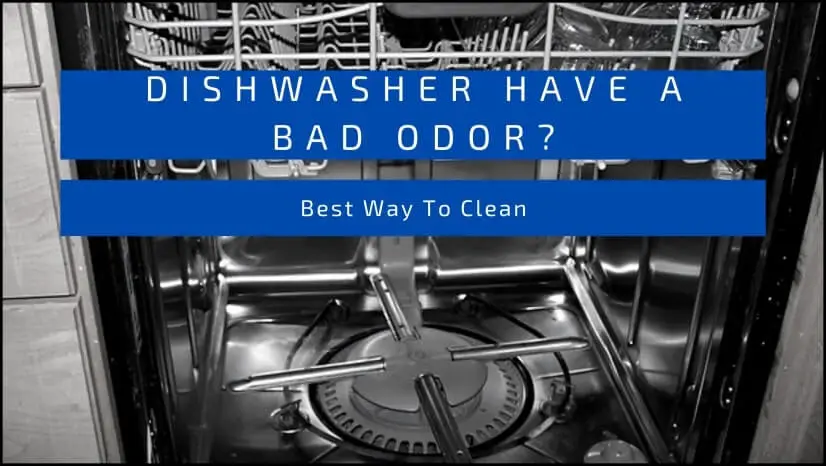 The best guide for easy dishwasher cleaning Your dishwasher is one of the most important appliances in your home. Not only does it make clean-up a breeze, but it also helps to keep your dishes clean and bacteria-free. However, if you don’t clean it on a regular basis, it can become a cesspool of bacteria,… Read more: Easy Dishwasher Cleaning: How to Remove Odors, Bacteria