Give Your Bathroom a Mini-Makeover!
Isn’t it amazing how something as simple as changing your bathroom sink faucet can completely revamp the room’s vibe?
If you’re itching for a little upgrade but don’t want to commit to a full-blown renovation, you’re in the right place. We’ve got the perfect project for you.
Armed with a few basic tools and some DIY spirit, anyone can give their bathroom a fresh, new look.
- Get to Know Your Faucet
- Preparing for the Change
- Removing the Old Faucet
- Installing Your New Faucet
- Testing and Finishing
- Maintenance and Care
- Frequently Asked Questions (FAQ)
- Can I replace a bathroom sink faucet myself?
- Is replacing a sink faucet easy?
- Do I need a plumber to install a bathroom faucet?
- How do you remove an old bathroom sink faucet?
- How to change bathroom sink faucet handles or cartridges?
- Can you change the bathroom sink faucet?
- How to change a bathroom sink faucet washer?
- How to remove, install, fix, or replace the bathroom sink faucet and drain?
- Can you replace a faucet without replacing the sink?
- Why do some sinks have two faucets?
- Helpful Resources:
- The Power of DIY: A Look at the Numbers
- Troubleshooting and Maintenance: Post-Installation Queries Answered
This guide is all about making the swap as easy and hassle-free as possible. Whether you’re a seasoned DIY-er or a total novice, prepare to turn your bathroom into a space that feels new and inviting, one faucet at a time.
Get to Know Your Faucet
Before we roll up our sleeves and get our hands dirty, let’s take a moment to get cozy with the type of faucet hanging out in your bathroom.
Knowing what you’re working with makes all the difference. Ready for a quick intro? Here we go:
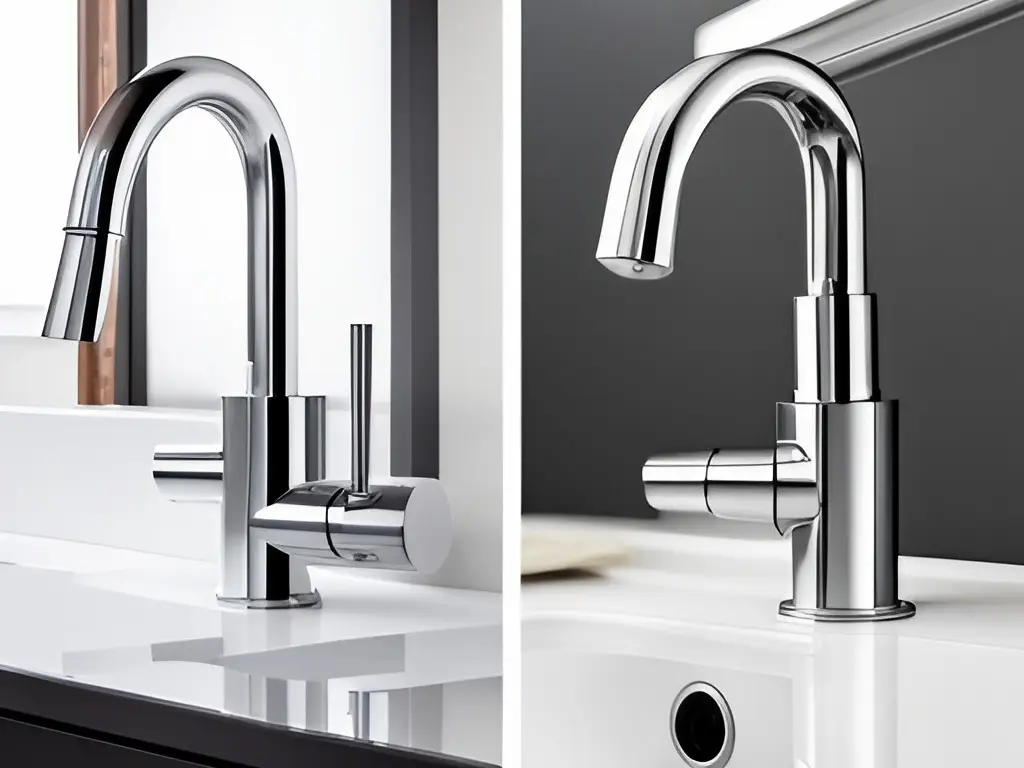
- Compression Faucets: Picture this – two handles, one for hot and the other for cold, like a good ol’ classic. These guys are your go-to if you love the feel of turning a knob to get the water just right. Inside each handle, there’s a valve stem that plays red light, green light with the water flow. Neat, right?
- Non-Compression Faucets: Now, if you’re all about the future and loving the ease of doing things with just a flick, meet the single-handed marvels. These sleek faucets come with either a ball valve or ceramic discs that smoothly glide to adjust your water flow, making life just a tad simpler.
There it is – a mini crash course on your faucet types. Knowing this is your first step to becoming the bathroom upgrade hero you’re meant to be. Now, are you ready to pick up those tools and get into the fun part?
Preparing for the Change
Gathering the necessary tools is your first step:
- An adjustable wrench or basin wrench
- A pair of pliers
- A screwdriver set, including flathead and Phillips-head screwdrivers
- A container for organizing small parts
- A new faucet and installation kit containing all necessary parts
With tools at the ready, the next step is to turn off the water supply to the sink. This is typically located in a cabinet beneath the sink or, in rarer cases, behind an access panel in the wall. Delta Touch Faucet Not Working? Here’s What to Do!
Removing the Old Faucet
Okay, now that you’ve got your toolkit ready and your DIY hat on, it’s time for a bit of a heart-to-heart with your old faucet. It’s served you well, but change is in the air! Don’t worry, I’ll walk you through every step, and hey, if something’s not clear, or if you’re wondering, “What on earth does that part do?” – I’ve got you covered.
- Getting Ready: First things first, lay out a cloth under the sink. Trust me, it’s not just about keeping things tidy. It’ll catch any leftover water, so you’re not doing a surprise water dance.
- Loosening Things Up: Grab your adjustable or basin wrench. You’re going to find a couple of nuts under the sink holding your faucet in place. “Under the sink, you say?” Yes, and you might have to channel your inner contortionist to see and reach them. A flashlight will be your best friend here. Turn those nuts counterclockwise, and if they’re being stubborn, a gentle encouragement should do the trick.
- Disconnecting Water Lines: With the nuts off, it’s time to part ways with the water lines connected to the faucet. They might be a bit clingy, secured by a compression fitting or a threaded connection. If they’re playing hard to get, persuade them gently with your pliers. Remember, it’s not a tug-of-war; we want to keep those lines in good shape.
- Farewell to the Drain Stopper: Is there a drain stopper linked to your faucet? If so, there’s a little lift rod that needs some attention. Unscrew the nut holding it to the stopper mechanism, remove the rod, and the stopper will follow. “Do I keep these?” Absolutely! You’ll likely use them again with the new setup.
- Lifting Off the Faucet: Now for the grand exit. Your faucet might protest a bit if it’s been there a while, thanks to sealant, grime, or hard water deposits. A gentle, wiggling persuasion usually convinces it to break free.
And there you have it! Once the old faucet is out, you’ve got a blank canvas. Giving your sink a good cleanup now will make everything look even better when the new faucet makes its debut.
Removed that faucet like a pro? Awesome! Now, pause and give yourself a pat on the back. Next, we’ll prepare for the grand entrance of your new shiny faucet. How to Disable the Touch Feature on a Delta Faucet
Installing Your New Faucet
Alright, blockbuster moment! It’s time to give your sink that much-awaited makeover with your shiny new faucet. Don’t worry, I’ve got your back, guiding you through each step so you’ll feel like a seasoned pro in no time. Ready to roll? Here we go.
Positioning Your New Faucet
Now, before we get all excited, we need to play a little match game. Basically, make sure your sparkling new faucet is going to fit those holes in your sink like a glove. This is the moment to ensure everything lines up perfectly, so we don’t end up with a square peg, round hole situation.
- Check and Double-Check: Grab that faucet and gently hover it above the sink. We’re looking for a perfect lineup with those sink holes. Awkward if it doesn’t, right? But better to know now than later!
- The Sealant Tango: Optional but a genius move – swirl a thin layer of silicone sealant on the sink where the faucet will cozy up. This is your secret weapon against leaks.
- Lowering the Star of the Show: Gently place your faucet down, ensuring it aligns with the holes. It’s like landing a spacecraft meticulously onto its launchpad.
Attaching the Faucet
It’s not just about placing it; we’ve got to lock it down tight, so it doesn’t plan any escape routes.
- Under the Sink We Go: Now, worm your way under the sink (glamorous, I know) and secure the faucet with the provided nuts. It’s like tightening a lid – snug but not Hulk-snug.
- Hooking Up the Water Lines: Those water lines aren’t going to connect themselves! Hook ’em up to the faucet. Righty-tighty by hand, then a careful quarter turn with pliers. Easy does it – we want a tight fit, not a wrestling match.
- The Stopper Reunion: Got a lift rod and stopper? Bring them back together. It’s like reuniting long-lost friends. Check if that lift rod is doing its thing perfectly.
Other Connections
Got some fancy features like a side spray or a soap dispenser? Now’s the time to bring those to the party. Follow the crowd (a.k.a., the manufacturer’s instructions) to get those connected.
There you go! Step back and admire your handiwork. You’ve officially taken your sink from meh to magnificent. Now, turn on the water, do a little leak check (fingers crossed), and give yourself a big high-five. You did it!
Testing and Finishing
Now that the installation saga is drawing to a close, there are just a couple more steps to ensure everything is shipshape. It’s like the final taste test before serving a gourmet meal.
- Easing Into It: Gently turn on the water supply. Think of it as easing into a hot bath. You’re checking for leaks, but there’s no rush – patience is key here.
- A Quick Observation: Keep an eye on the faucet and connections. Any drips? Don’t panic. Leaks can happen, and they’re usually just a sign that something needs a tiny tweak.
- Make Adjustments as Needed: Find a leak? It’s typically a quick fix. Slight turns should do the trick—think of it as tightening a loose screw on your glasses. Go easy, though; overtightening can lead to more issues than it solves.
- Clean and Admire: Wipe everything down and take a step back. This is the moment of truth, where you see your handy work in all its glory. Enjoy the feeling of accomplishment – you’ve earned it!
Questions might pop up, like “What if the leak doesn’t stop?” or “What if I accidentally made it too tight?” Don’t worry, that’s normal. Fixing Leaky Faucets: A Step-by-Step Guide
If simple adjustments don’t fix the leak, double-check your connections and ensure everything’s aligned correctly. Sometimes, it just takes a bit of trial and error to get it perfect. And there you have it, a successfully installed faucet that’s not only a testament to your skill but also a lovely addition to your home.
Maintenance and Care
Now that you’ve given your sink that impressive facelift with a brand-new faucet, you’re probably wondering, “How do I keep it looking and working as good as new?” No worries, I’ve got you covered with some down-to-earth advice that’ll keep your faucet in tip-top shape.
- Regular Check-Ups: Just like you’d check in on a friend, give your faucet a quick look-over now and then. You’re playing detective — on the lookout for drips or wobbles. Catching them early means you’re avoiding future drama.
- Keep It Clean: Think of your faucet as the crown jewel of your sink. It deserves a spa day! But keep it gentle: a soft cloth and some soapy water will do the trick. Harsh chemicals? They’re a no-go. They can tarnish your faucet’s breathtaking finish.
- Questions, Questions, Always Questions: “What if I spot a leak?” or “Oops, did I scrub too hard?” come to mind? Totally normal. For leaks, sometimes a simple tightening job is all it needs (be gentle, though!). Overdid the cleaning? A quick polish with a soft, dry cloth can bring back the shine.
Remember, it’s all about keeping that relationship with your faucet smooth and worry-free. And if things get a bit too complicated, calling in a pro is never a bad idea. They’re like the relationship counselors of the plumbing world. Here’s to a lasting bond with your beautiful new faucet!
Frequently Asked Questions (FAQ)
Can I replace a bathroom sink faucet myself?
Yes, with the right tools and a bit of patience, you can replace a bathroom sink faucet yourself. The process involves removing the old faucet, installing the new one, and ensuring all connections are secure to prevent leaks.
Is replacing a sink faucet easy?
Replacing a sink faucet can be straightforward if you follow the manufacturer’s instructions carefully. While it may seem daunting, breaking down the process into manageable steps, as outlined in this guide, can simplify the task.
Do I need a plumber to install a bathroom faucet?
While hiring a plumber is an option, especially for complex installations, many bathroom faucet replacements can be successfully performed by individuals with basic DIY skills. Understanding the process and having the necessary tools at hand are key factors.
How do you remove an old bathroom sink faucet?
To remove an old bathroom sink faucet, you need to turn off the water supply, disconnect the water lines from the faucet, and remove the nuts that hold the faucet in place. Once these steps are done, the faucet should lift away from the sink.
How to change bathroom sink faucet handles or cartridges?
Changing faucet handles or cartridges involves unscrewing the handles or the faucet body to access the parts inside. For handles, simply remove and replace them with new ones. For a cartridge, after removal, replace it with a new one that matches your faucet model.
Can you change the bathroom sink faucet?
Yes, changing a bathroom sink faucet is definitely doable. It involves selecting a new faucet that fits your sink, removing the old one, and following the installation process for your new fixture.
How to change a bathroom sink faucet washer?
To change a faucet washer, you’ll first need to turn off the water supply and disassemble the faucet handle to access the washer. Replace the old washer with a new one of the same size and reassemble the faucet.
How to remove, install, fix, or replace the bathroom sink faucet and drain?
Removing, installing, fixing, or replacing a bathroom sink faucet and drain involves several steps that start with turning off the water supply and emptying the lines. For removal and installation, disconnect the water lines and remove the mounting nuts. To fix a faucet, identify the issue (such as leaks or improper function) and replace the faulty parts (like washers, O-rings, or cartridges). Always refer to the manufacturer’s instructions for specifics related to your faucet model.
Can you replace a faucet without replacing the sink?
Absolutely. A faucet can be replaced without the need to replace the entire sink. Ensure the new faucet fits the existing sink configurations (hole sizes and spacing).
Why do some sinks have two faucets?
Some sinks, particularly older models, have two faucets as a traditional way of separating hot and cold water supplies, allowing users to mix water in the sink to their desired temperature.
In summary, most tasks related to changing or installing a bathroom sink faucet can be managed without professional help with careful planning, the right tools, and a clear understanding of the steps involved. Always prioritize safety, especially when dealing with plumbing and water supply.
Helpful Resources:
We’ve handpicked some resources to make your faucet replacement or repair project even smoother. These aren’t just any sources; they’re like treasure maps guiding you to a successful DIY plumbing adventure:
- American Society of Plumbing Engineers (ASPE): Think of them as the wise old mentors of the plumbing world. They have rules and guidelines that are pretty much the secret sauce to doing plumbing right.
- EPA’s WaterSense program: These folks are like the guardians of water efficiency. They’ll show you how to pick faucets that not only look good but also save water and money. It’s like eco-friendly meets budget-friendly.
- Master plumbers’ insights: Picture sitting down with a master plumber over coffee, and they lean in to whisper, “The real trick is not skipping the details in the manual or industry standards.” That’s the gold standard advice you’re getting here. (Just imagine it’s from someone who knows their stuff.)
- Manufacturer websites (like Moen and Delta Faucet): These are your go-to for the nitty-gritty on parts like washers and cartridges. They offer manuals and videos that are so detailed, that you might feel like you’re getting a personal tutorial. It’s pretty much a backstage pass to your faucet.
By using these resources, you’re arming yourself with top-notch information and guidance. It’s like having a tool belt, but instead of hammers and wrenches, you’re equipped with knowledge and expert tips.
The Power of DIY: A Look at the Numbers
You might wonder, “Am I really up for replacing my bathroom faucet on my own?” Well, you’re not alone in thinking that. To give you some confidence, let’s dig into some revealing statistics that show how common DIY faucet installations are—and why many homeowners choose this route:
- DIY vs. Professional Plumbing Projects: Studies suggest that up to 70% of simple home plumbing projects, like faucet installation, are done by homeowners themselves. This trend is not just about saving money; it’s also about the satisfaction and personal achievement of fixing something with your own hands.
- Savings Galore: On average, calling in a plumber can set you back anywhere from $100 to $500 for a faucet installation, depending on your location and the complexity of the job. Rolling up your sleeves and doing it yourself? The cost is often just the price of the faucet and perhaps a few basic tools.
- Success Rates: Fear of failure holds many back, but here’s a kicker—according to several homeowner surveys, over 80% of DIY faucet installation projects are completed successfully with no need for a follow-up professional fix. Yes, you heard that right. With the right preparation and a bit of patience, you’re likely to nail it on your first try.
- Learning and Adaptability: Beyond just following instructions, DIYers report improving their problem-solving skills and becoming more adaptive in handling unexpected issues during projects. This isn’t just about faucets; it’s about growing a set of skills that can be applied across various tasks around the home.
Remember, these numbers aren’t just digits; they represent the vast community of homeowners just like you, who took the plunge into DIY projects and swam rather than sank. You have a world of resources at your fingertips, support from communities online, and the empowering knowledge that comes with tackling something new. Whether it’s a leaky faucet or a desire to upgrade your bathroom’s look, you’re more ready than you might think to handle it yourself.
Troubleshooting and Maintenance: Post-Installation Queries Answered
After installing or repairing your bathroom faucet, you might have some follow-up questions or encounter minor issues that need attention. Here’s a handy guide to help you through these common post-installation concerns, keeping things simple and straightforward.
- Signs Your New Faucet Needs Adjustment: Are you noticing water flow that’s too weak or too strong, or is the temperature mix not quite right? These could be signs that your faucet needs a bit of tweaking. Often, this involves adjusting the flow restrictor or checking the hot and cold water supply valves for proper operation. Remember, a slight adjustment can make a world of difference in performance.
- How Often to Replace the Aerator: The aerator, that little screen at the tip of your faucet, plays a big role in ensuring a smooth, even water flow. Over time, it can get clogged with sediment or wear out. A good rule of thumb is to clean it every three to six months and consider replacing it annually. If water flow becomes erratic or you’re seeing a decrease in water pressure, it might be time for a new aerator.
- Dealing with Leaks or Drips: Notice a pesky drip that won’t go away or a leak under the sink? Don’t panic! First, identify the source. For drips, the culprit is often a worn washer or O-ring, which can be easily replaced. Leaks under the sink might require tightening connections or replacing the supply line. These fixes are usually simple and can be DIY projects.
- Maintaining Your Faucet’s Finish: To keep your faucet looking its best, regular cleaning with mild soap and water is key. Avoid harsh chemicals or abrasive cleaners that can damage the finish. A soft cloth can wipe away most water spots and buildup, keeping your faucet shiny and new-looking.
Remember, part of the DIY spirit is learning and adapting as you go. Even after the main installation or repair, keeping your faucet in top shape is a continuous process – but it’s also a rewarding one. Whether it’s a simple adjustment, a routine replacement, or just some regular upkeep, taking these steps ensures your bathroom faucet continues to work efficiently and looks great. Plus, you’ll deepen your DIY skills with every troubleshooting and maintenance task you tackle.

I’m J.S., I created and am the content manager at DIYHouseSkills.com. I do the research and write the articles that appear on this website. I’ve learned many household skills during my life and think it’s important to at least know the basics so that you can save yourself time and money… READ FULL BIO >