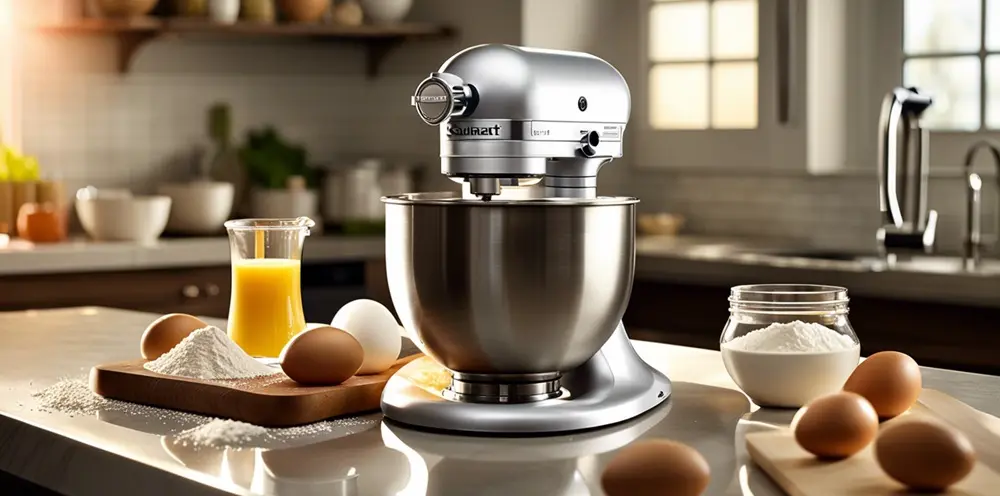
Welcome to the Cuisinart Mixer Adjustment Quick Guide! We will take you through everything you need to know about adjusting your Cuisinart Mixer.
Whether you’re a beginner or an experienced baker, this quick guide will help you adjust and enhance your mixing experience. So let’s get started and unlock the full potential of your Cuisinart Mixer.
- 1. Familiarize Yourself with Your Cuisinart Mixer:
- 2. Adjusting the Speed Control Lever:
- 3. Adjusting the Tilt-Head Lock:
- 4. Utilizing the Power Hub Cover:
- 5. Experimenting with Different Attachments:
- 6. Ensuring Proper Bowl Clearance:
- 7. Signs Your Cuisinart Mixer Needs Adjustment
- Frequently Asked Questions (FAQs)
- Cuisinart Mixer Models: A Quick Reference
- Conclusion:
Mastering the Art of Adjusting Your Cuisinart Mixer with Precision
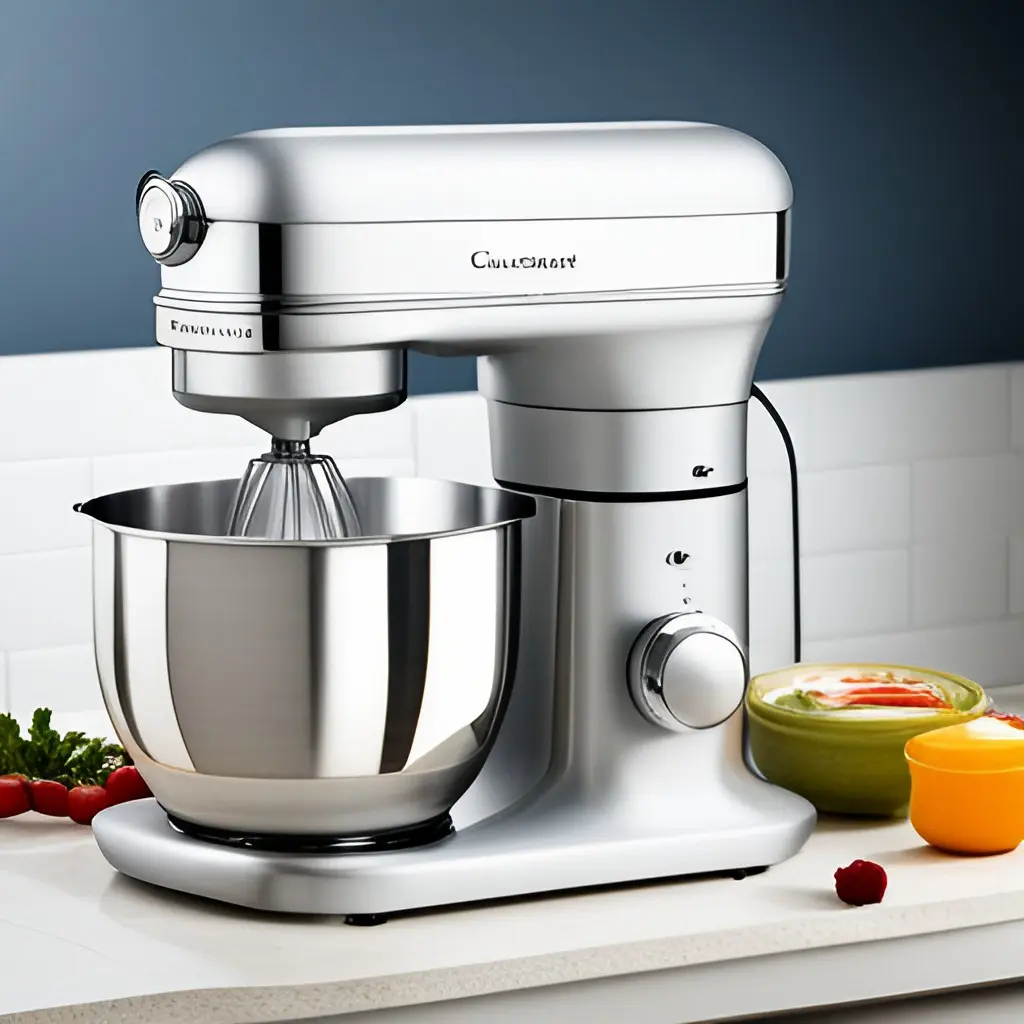
1. Familiarize Yourself with Your Cuisinart Mixer:
Before diving into adjustment techniques, let’s get acquainted with the machine itself.
Study your mixer’s manual thoroughly and take note of its different components such as speed control lever, tilt-head lock, power hub cover, and attachment points.
Let’s delve deeper into the key components to better understand their functionality:
- Speed Control Lever: This lever controls the speed of the mixer and allows you to choose from a range of options. The level of speed is critical to achieving perfect consistency in your mixtures.
- Tilt-Head Lock: This is a safety feature that locks the mixer head into place when you’re using it. The tilt-head lock ensures that the mixer head doesn’t move during operation, providing stability.
- Power Hub Cover: This is located on the front of the machine. It’s where you can attach additional Cuisinart accessories for more functionality. The power hub cover is key to transforming your mixer into a versatile kitchen appliance.
- Attachment Points: These are where you connect the various mixing attachments. Understanding the correct attachment point for each tool is essential for optimal mixer performance.
2. Adjusting the Speed Control Lever:
One of the most crucial aspects of adjusting your Cuisinart Mixer is getting to know the speed control lever.
The lever features 12 different speeds, ranging from very slow to high, that you can adjust according to your preferences and recipes.
- Slow: The slow speeds are perfect for gentle blending or folding ingredients together.
- Medium: Medium speeds work well for mixing batters, doughs, and frosting.
- High: The high speeds are ideal for whipping creams, beating eggs, or kneading heavier doughs.
Follow these steps for precise speed calibration:
- Turn your mixer on and set it to the lowest speed.
- Observe the beater’s rotation—ideally, it should touch the ingredients without splashing them out of the bowl.
- If necessary, adjust the speed control lever using an appropriate tool provided by Cuisinart or as per your model’s manual. Move the lever slightly up or down until you achieve optimal mixing results at each speed setting.
- Repeat this process for all speed levels.
It’s essential to remember that lower speeds should always be used when starting a new recipe. Gradually increase the speed as needed to achieve the desired consistency.
3. Adjusting the Tilt-Head Lock:
The tilt-head lock is crucial in keeping your mixer stable while it’s in use. The lock should always be engaged when using the mixer, and you should only unlock it when changing attachments or adding ingredients.
To adjust the tilt-head lock, simply push down on the lever to secure the head in place. When done using the mixer, release the tilt-head lock to tilt the head back for easy access to your mixture.
4. Utilizing the Power Hub Cover:
With the power hub cover, you can transform your Cuisinart Mixer into a versatile kitchen appliance. You can attach various accessories such as pasta makers, grinders, and juicers to enhance your cooking experience.
To use the power hub cover, simply twist and remove the small cover on the front of your mixer to reveal the attachment point. Then, attach your desired accessory and lock it in place by twisting the power hub cover back into position.
5. Experimenting with Different Attachments:
Last but not least, having a variety of attachments for your Cuisinart Mixer opens up endless possibilities for your culinary creations. You can adjust the mixer’s performance by using different attachments to achieve the perfect texture and consistency.
For example, use the flat paddle attachment for mixing cake batter or cookie dough, while the wire whip is perfect for whipping cream or beating egg whites. The dough hook attachment is ideal for kneading bread dough and making pasta.
Cuisinart offers a variety of attachments to enhance your mixing experience, from pasta rollers to meat grinders. But first, you need to ensure that these attachments are tightly secured onto the mixer’s power hub for optimal performance.
Refer to the following chart for the right attachment speed and its recommended use:
| Attachment | Speed Setting | Recommended Use |
|---|---|---|
| Wire Whip | Start on low, then gradually increase to higher speeds | Whipping cream, beating egg whites |
| Flat Beater | Start on medium-low for heavy mixtures or high for lighter ones | Mashing potatoes, making cake batter |
| Dough Hook | Start on low, then gradually increase to higher speeds | Kneading dough |
Now that you’re equipped with essential knowledge about adjusting your Cuisinart Mixer, it’s time to put it into practice. Experiment with different speeds and attachments to achieve the perfect mix every time.
| Component | Function |
|---|---|
| Speed Control Lever | Controls the speed of the mixer |
| Tilt-Head Lock | Ensures stability during operation |
| Power Hub Cover | Attaches additional accessories for more functionality |
| Attachment Points | Connects various mixing tools |
List of Possible Mixer Adjustments:
- Change speed control lever to achieve desired consistency
- Engage tilt-head lock for stability during use
- Utilize power hub cover to attach various accessories
- Experiment with different mixing attachments
- Gradually increase speed for optimal results
- Use lower speeds when starting a new recipe
- Adjust tilt-head lock to add ingredients or change attachments.
Bread Makers Uncovered: Select the Best for You
Having a clear understanding of these parts will aid in adjusting your mixer effectively.
Understanding the Specifics of Different Models:
Cuisinart Mixers come in a variety of models, each with its unique features and adjustment settings. Knowing the specifics of your model is crucial for precise adjustments and optimal performance.
Cuisinart SM-50 Stand Mixer:
This model features a robust 500-watt motor, 12-speed control, and a tilt-back head allowing easy access to the bowl and beaters. Its adjustment involves setting the appropriate speed using the lever and fixing attachments at its designated points.
Cuisinart HM-90 Hand Mixer:
This light and portable mixer model has 9-speed control, with the first three speeds designed for gentle start-up to prevent splattering. Adjustments can be made by shifting the speed control button and the attachments can be fixed into the mixer’s base.
| Mixer Model | Motor Power | Speed Controls | Notable Features |
|---|---|---|---|
| SM-50 | 500 W | 12 | Tilt-back head |
| HM-90 | Not specified | 9 | Extra-long beaters |
By familiarizing yourself with the specifics of your Cuisinart Mixer model, you can effortlessly make the necessary adjustments, thereby enhancing your baking experience.
6. Ensuring Proper Bowl Clearance:
To guarantee smooth mixing operations, it is vital to adjust the bowl clearance correctly.
Start by unplugging your mixer for safety purposes before proceeding further:
- Tilt-Head Mixers: For tilt-head models like the popular Cuisinart Classic Stand Mixer (SM-50), locate the height adjustment screw at the back head area near where attachments connect. Use a flathead screwdriver or an appropriate tool provided by Cuisinart to turn this screw clockwise or counterclockwise until achieving an ideal clearance between beater/paddle and bowl bottom (usually 1/8 inch).
- Bowl-Lift Mixers: If you own a bowl-lift model like the powerful Cuisinart 7 Quart Stand Mixer (SM-70), refer to its specific manual for instructions on adjusting bowl clearance accurately.
7. Signs Your Cuisinart Mixer Needs Adjustment
Understanding the indicators of a mixer in need of adjustment can be the difference between a perfect dough and a kitchen disaster. Here are a few common symptoms that suggest it’s time to adjust your Cuisinart mixer:
- Uneven Mixing: If you find unmixed ingredients at the bottom of the bowl or the sides, it might be a sign that your paddle isn’t reaching all areas of the bowl. This could be due to improper bowl clearance.
- Excessive Noise: While mixers do make noise during operation, excessive or unusual noise can be a clear indication that something’s not right. This might be due to loose attachments or improper speed calibration.
- Struggling Motor: If your mixer seems to be struggling or its motor gets too hot, it might be an indication that the load is too heavy for the current speed setting. This might mean your speed control needs recalibration.
- Attachment Slippage: If your attachments seem to wobble or slip while in operation, it could mean they are not fitted properly and need to be securely fastened.
Recognizing these signs and making the necessary adjustments not only ensures optimal results but also extends the lifespan of your mixer. Here’s why:
- Maintains Mixer Efficiency: Regular adjustments keep your mixer running at its best, ensuring you get consistent, high-quality results every time.
- Prevents Damage: Ignoring signs of needed adjustments could lead to more serious problems over time, including potential damage to the mixer’s motor or other components.
- Enhances Durability: A well-maintained and properly adjusted mixer will last longer, giving you more value for your investment.
- Saves Time and Effort: Adjusting your mixer can prevent unnecessary rework or ingredient waste, saving you time, effort, and resources in the long run.
Remember, taking the time to regularly check and adjust your Cuisinart Mixer can make a world of difference to your baking endeavors. Bread Machine Troubleshooting: How To Fix
Frequently Asked Questions (FAQs)
Q1: How do I adjust the height on my Cuisinart mixer?
A: For tilt-head mixers, locate the height adjustment screw at the back head area where attachments connect. Using a flathead screwdriver, turn this screw clockwise or counterclockwise until achieving an ideal clearance between the beater/paddle and the bowl bottom.
Q2: How do I reset my Cuisinart mixer?
A: There isn’t a ‘reset’ button per se. If your mixer isn’t functioning as expected, first ensure it’s plugged in and the outlet is working. For any other issues, consult your user manual or contact Cuisinart customer service.
Q3: How do you adjust the beater on a stand mixer?
A: Locate the height adjustment screw at the back area (for tilt-head models). Use a screwdriver to turn this screw until achieving a clearance between the beater and the bowl. The beater should not touch the bowl, but should be close enough to it to reach the ingredients.
Q4: How do I tighten my KitchenAid mixer?
A: Using a flathead screwdriver, adjust the mixer’s height by turning the screw found within the cavity where the mixer head pivots. Turn the screw counterclockwise to lower the beater and clockwise to raise it.
Q5: How to adjust Cuisinart mixer?
A: You can adjust your Cuisinart mixer’s speed using the speed control lever, secure attachments at designated points, and adjust beater to bowl clearance through the screw at the back head area.
Q6: How do I adjust my Cuisinart mixer?
A: Adjustments can be made in speed control, attachment fitting, and bowl-beater clearance. Speed is adjusted by the control lever, attachments are secured at designated points, and bowl-beater clearance is adjusted via a screw on the back head area.
Q7: How to adjust Cuisinart stand mixer?
A: Adjustments can be made in speed control, attachment fitting, and bowl-beater clearance. Speed is adjusted by the control lever, attachments are secured at designated points, and bowl-beater clearance is adjusted via a screw on the back head area.
Cuisinart Mixer Models: A Quick Reference
Cuisinart offers an extensive range of mixer models to cater to diverse baking needs and preferences. Here’s a rundown of some of their popular stand mixers for your quick reference:
- Cuisinart SM-50BC: This 5.5-quart tilt-head model is equipped with a powerful 500-watt motor and 12-speed options, making it ideal for a variety of mixing tasks.
- Cuisinart HM-90S: A versatile hand mixer model that comes with a 220-watt motor, 9-speed control, and snap-on storage case.
- Cuisinart SM-70: A high-performance 7-quart stand mixer that boasts a 1000-watt motor and 12-speed control for handling heavy and large-volume mixing tasks.
- Cuisinart SM-50BL: Similar to the SM-50BC, this model also features a 5.5-quart capacity and 12-speed control, but comes in an attractive blue color.
- Cuisinart HM-50: This model is a budget-friendly hand mixer with a 220-watt motor and 5-speed control, perfect for basic mixing tasks.
- Cuisinart SM-35: This stand mixer offers a solid 3.5-quart capacity, making it perfect for small to medium-sized baking tasks. It operates at a power of 350 watts, ensuring smooth and efficient performance.
- Cuisinart SM-55: Packing a 5.5-quart capacity and a powerful 800-watt motor, the SM-55 model offers 12 mixing speeds, making it versatile enough for a wide range of mixing, whipping, and kneading tasks.
- Cuisinart HM-70: This hand mixer model provides seven speeds for precise control, and its 220-watt motor is powerful enough to handle a variety of tasks.
- Cuisinart HM-90BCS: This is a high-performance hand mixer with a 220-watt motor and nine-speed control. It comes with a storage case to keep all the attachments organized.
- Cuisinart CHM-3: This is an entry-level hand mixer model with a 3-speed control and a 220-watt motor, perfect for basic mixing tasks.
Each of these models comes with unique features and specifications to fit different baking styles and requirements.
For more detailed information or any assistance you may need with your Cuisinart Mixer, you are warmly invited to visit the Cuisinart Support site.
Conclusion:
Now that you know how to adjust your Cuisinart Mixer correctly, it’s time to put your skills to the test. Experiment with different recipes and see the difference adjusting your mixer makes in achieving perfect mixing results.
- Self-Watering Gardens for Small Spaces: Grow Big in Tiny Places
- How To Conserve Water At Home | How Can I Lower My Water Bill?
- Outdoor Pizza Oven Buying Guide | How to Buy
- Top Stand Mixers on Amazon: Most Wished For
- Samsung Robot Vacuum Troubleshooting + Advice

I’m J.S., I created and am the content manager at DIYHouseSkills.com. I do the research and write the articles that appear on this website. I’ve learned many household skills during my life and think it’s important to at least know the basics so that you can save yourself time and money… READ FULL BIO >