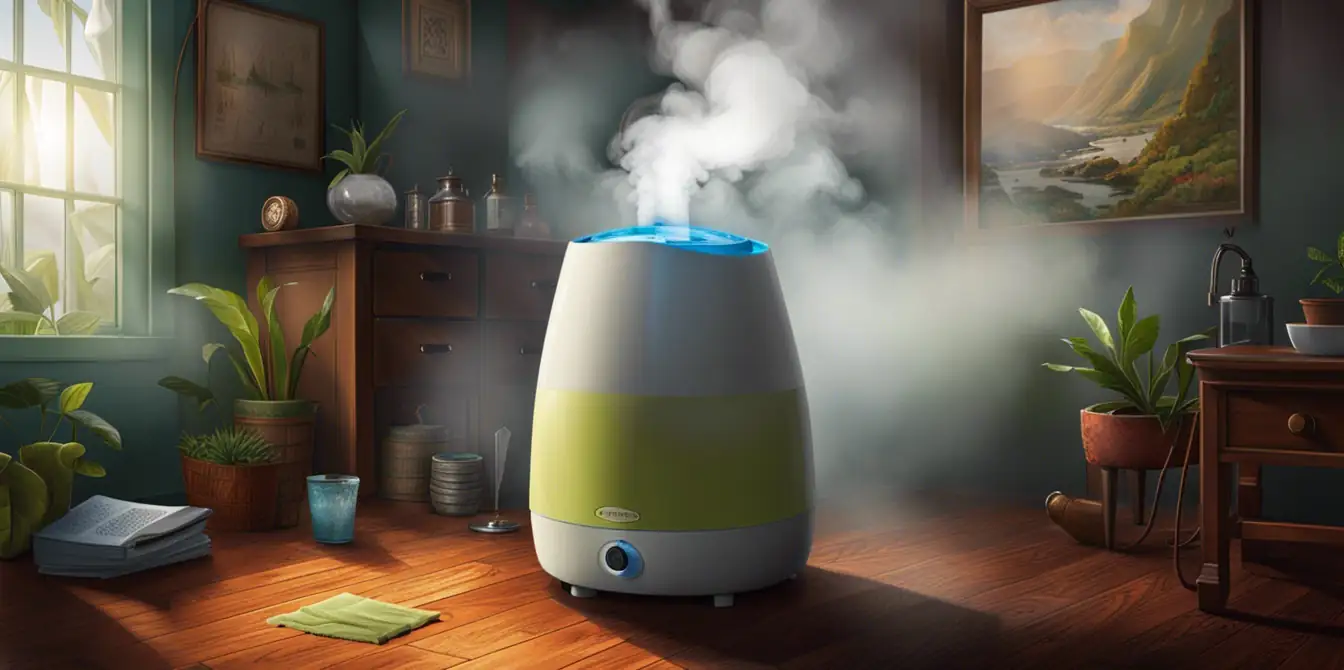
Troubleshooting Guide: What to Do When Your Humidifier is Not Working
Like any other device, humidifiers can sometimes encounter issues that prevent them from functioning properly.
If you find yourself in such a situation where your humidifier is not working as expected, this guide will help you identify the potential problems and offer practical solutions to get it back up and running efficiently.
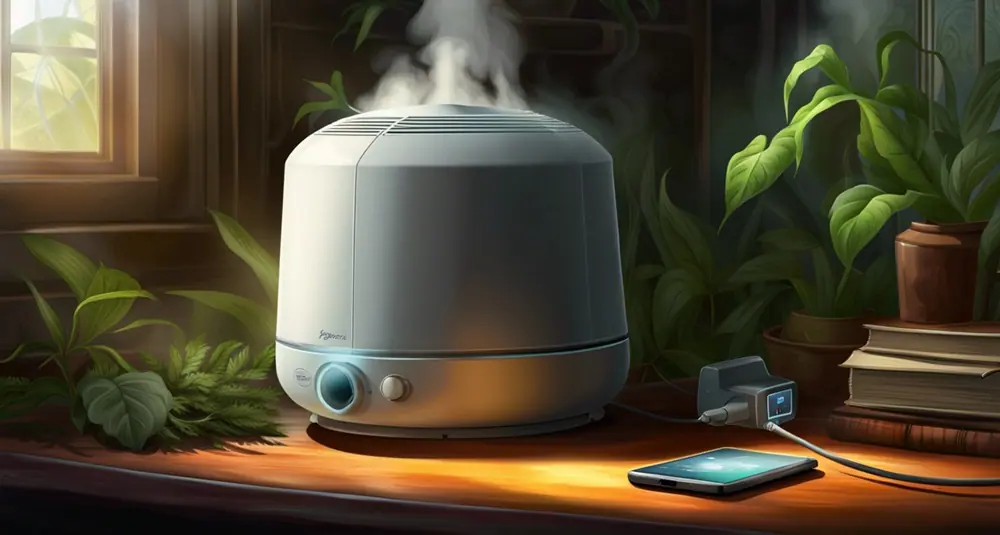
There are several common reasons why your humidifier might not be working.
Most often, these include issues with power supply, incorrect settings, water supply problems, poor maintenance, and occasionally, deeper mechanical malfunctions.
Spotting Humidifier Problems
Humidifier Power and Performance Checks
Let’s walk through the basic checks to confirm if the power supply is responsible for your humidifier’s malfunction.
- Ensure It’s Plugged In: Ensure that your humidifier is plugged into an electrical outlet and turned on.
Sounds obvious, but sometimes it’s easy to overlook these small details.
- Check the cord for damage as a frayed or damaged cord will prevent your humidifier from drawing any power.
- Confirm that the outlet is in working condition.
Plug in a different device to rule out the possibility of the outlet being faulty.
- If your humidifier has a fan, make sure that it is running properly.
A damaged or malfunctioning fan can lead to inadequate humidification and poor performance.
Troubleshooting Settings
If you’ve confirmed that there’s nothing wrong with your humidifier’s power supply, the next step is to check its settings. Some common setting-related issues include:
- Adjust the Settings: The humidistat is set too low or turned off.
This can result in your humidifier not turning on even when it has sufficient water and power.
- The mist output level is too low. Check if the settings are correct and adjust them accordingly to increase the mist output.
- Clean the humidifier periodically to ensure proper functioning.
If you have hard water, mineral deposits can build up and clog your humidifier, leading to poor performance.
Humidifier Water Supply Problems
The most common cause of a malfunctioning humidifier is a lack of water supply. Some things to check for.
When we talk about water supply in the context of humidifiers, we’re referring to the water that the device uses to create humidity. A disruption in this supply can cause your unit to stop producing mist. Here’s what you can do:
- Inspect Water Levels: The tank may be empty. Refill it if necessary.
- Check for Tank Alignment: Sometimes, the tank isn’t properly aligned with the base due to which the water doesn’t flow into the machine. Make sure it’s seated correctly.
- Inspect for Blockages: Look inside the water tank for any foreign objects or buildup that might be blocking the water from exiting the tank.
- Evaluate the Water Sensor: Most humidifiers come with a sensor that detects water levels. If this sensor is dirty or faulty, it may incorrectly report that there’s no water when there is. Clean the sensor gently with a soft cloth or check for replacement if necessary.
- Change the Filter Regularly: If your humidifier has a filter, it should be changed or cleaned regularly as per the manufacturer’s instructions, as a dirty filter can restrict water flow.
- Clean the tank: If your humidifier has a removable tank, make sure to periodically empty and clean it to avoid any buildup of bacteria or mold.
Detailed Maintenance Steps for Your Humidifier
Maintaining your humidifier is crucial, and I can’t stress this enough. As someone who’s experienced the consequences of neglect first-hand, I understand how overwhelming the details can seem to a novice.
Here’s a step-by-step guide that will make the process as straightforward as possible.
- Disassembly and Cleaning: First, unplug your humidifier. Remove the tank from the base and empty any remaining water. Disassemble all parts that come into contact with water. I usually use equal parts of water and white vinegar to fill the tank and let it sit for about 30 minutes; this helps in dissolving mineral deposits. Then, I gently clean each part with a soft brush or cloth, paying special attention to any nooks and crannies where bacteria might hide.
- Sanitizing: After cleaning, it’s essential to sanitize the parts to ensure no microbes are lurking around. For this, I create a solution with 1 teaspoon of bleach for every gallon of water. Submerge the parts in this solution for about 5 minutes, rinse thoroughly with clean water, and let them air dry.
- Replacing Worn Parts: It’s vital to check components like filters or wicks during maintenance. If you notice discoloration or a foul odor, it’s time for a replacement. I make a note in my calendar every three months to remind me to check these parts – it’s a simple trick that helps keep my humidifier in top shape.
- Final Reassembly and Checks: Once all parts are clean, dry, and correctly positioned, reassemble your humidifier. Before plugging it back in, I double-check that everything looks and feels right to avoid any mishaps.
Remember, perseverance is key. Keeping up with these steps helps extend the life of your humidifier and ensures it works effectively, offering you the best air quality at home. Plus, if you keep up with regular maintenance, tasks become quicker and easier each time.
For additional insights on how indoor air quality affects your overall health and how maintaining your humidifier plays a role in this, I encourage you to read this in-depth article by the Environmental Protection Agency (EPA).
Humidifier Deep Dive Diagnostics
For those who are comfortable with a hands-on approach, these advanced tactics can unveil hidden issues.
- Visual Inspection: Sometimes, signs of wear and tear are visible to the naked eye. I suggest opening up the case (only if the warranty allows) and taking a careful look at the internal components. Look for any obvious signs of damage like cracks or corrosion, particularly on the heating element or ultrasonic membrane, depending on your humidifier type.
- Mechanical Operations Check: If your humidifier has moving parts like wheels or a belt-driven fan, I recommend checking for smooth operation. These parts should move freely without resistance. Any stiffness could signal the need for lubrication or replacement.
- Filter Examination: A filter, when clogged, can compromise the efficiency of your humidifier. As part of your deep diagnostics, extract the filter and hold it up to light. If light doesn’t pass through easily, it’s time for a new one. I ensure to keep a spare filter on hand to avoid any disruptions in my humidifier’s operation.
- Electrical Testing for Amateurs: For those with a bit more confidence and a basic multimeter, I’ll walk you through how to test the electrical components. Please remember to always disconnect the humidifier from power before attempting any electrical testing. Place the probes on either end of a switch or sensor – if the multimeter doesn’t show continuity, the part may need replacing. If you’re unsure, it might be time to consult with a professional.
- Ultrasonic Frequency Check: For ultrasonic humidifiers, the issue may be less visible as it pertains to sound waves. If there’s no mist coming out, but there’s a humming sound, the ultrasonic disk might be the culprit. The disk should vibrate slightly when touched – if it doesn’t, this component may need servicing.
Remember, diving into the mechanics of your humidifier should always be done with care.
Following this guide ensures that you check each aspect methodically, providing your humidifier with the maintenance it deserves. Taking the time to understand these elements not only demystifies the process but also empowers you to keep your air moist and comfortable with confidence. If at any point you feel out of your depth, reaching out to a professional is the best course of action.
Advanced Humidifier Troubleshooting
If your humidifier is not working, here is a breakdown to assist even those who might feel new to the world of DIY repairs. We want to ensure you have all the necessary details to confidently tackle any issues.
In-Depth Fan Troubleshooting
- Fan Care Protocols: When I first encountered a non-spinning fan, it was daunting. Start by powering off your device and opening up the unit. Check if dust accumulation or debris is blocking the fan’s movement. If the fan blade is obstructed, use a soft brush to gently clear away the buildup. For lubrication, I always use a silicone-based lubricant – it’s crucial to use lubricants that are safe for electronic devices.
Multimeter Mastery for Beginners
- Conducting a Safe Continuity Test: A multimeter can be intimidating, but it is a powerful tool when used properly. Let’s simplify its use. When testing for continuity, ensure your humidifier is unplugged. Set the multimeter to the continuity setting, symbolized by a line with arcs above it or the soundwave symbol. Touch the probes to either end of the component being tested, such as the motor’s terminals. A continuous beep indicates continuity, meaning electricity can pass through, while silence suggests a break in the circuit. If my multimeter does not beep, I often replace the component in question. Remember, practice makes perfect, so do not be discouraged if it takes a few tries to become comfortable with this tool.
Sensor Care
- Cleaning with Precision: Sensors require a delicate touch. They’re the unsung heroes, helping your humidifier gauge its environment accurately. When cleaning them, I use a cotton swab dipped in isopropyl alcohol; it evaporates quickly and doesn’t leave residue. Gently swipe around the sensor to remove any dust or buildup. A clean sensor ensures accurate readings for optimal humidity levels.
Combatting Hard Water Havoc
- Distilled Over Tap: Prevent mineral buildup by opting for distilled water.
- Routine Descaling: If hard water is your only option, descale regularly to prevent deposits from accumulating. But what about existing lime-scale? In my experience, regular descaling is vital. I like to mix two cups of white vinegar with one gallon of water and pour this solution into the humidifier’s water tank. Run the humidifier for 30-60 minutes before emptying and rinsing the tank. This should be done at least monthly if you are using tap water in your humidifier.
By following these additional steps in our comprehensive guide, the troubleshooting process is demystified for even a novice user.
Preventive Practices
Taking proactive steps can save you from future frustrations:
- Scheduled Maintenance: Implement a tailored cleaning schedule—bi-monthly or quarterly.
- Wear and Tear Awareness: Keep an ear out for odd noises and an eye on mist output.
Model-Specific Guidance: Simplifying Your Humidifier Fixes
Here, you’ll find a selection of step-by-step fixes tailored to your device’s unique quirks.
- Honeywell HCM-350 Series: Starting with this popular model, if you find that your Honeywell humidifier is not working, inspect the filter. A clogged filter can halt the flow of moisture. I recommend replacing it every 1-2 months, depending on usage. Moreover, the water tank cap needs to be secured properly—ensure it’s tightened to avoid leaks that can impair function.
- Vicks Warm Mist V750: When tackling the Vicks humidifier is not working issue, a common oversight is the heating element. It requires regular descaling, especially if you’re using tap water. Unplug the unit, and soak the heating element in white vinegar for a few hours, then gently scrub to remove any buildup. This improves both efficiency and longevity.
- Dyson Ultrasonic AM10: If your Dyson ultrasonic humidifier is not working, one aspect to check is the UV light—integral for killing bacteria in the water. If the UV light indicator shows it’s not functioning, you may need to have it replaced by a professional. With this high-tech model, routine check-ups are essential to maintain its sophisticated systems.
Are Dyson Fans Worth It? NEW Advice

Understanding Warranty and Services
When we purchase a humidifier, we’re not just buying a machine; we’re investing in the comfort and health of our indoor environment. It’s paramount to understand the protection that comes with this investment – the manufacturer’s warranty. As I navigated through numerous humidifier warranties, I discovered that most cover defects in materials and workmanship for a certain period following the purchase, typically between one to three years.
Navigating the Fine Print
- Terms and Conditions: Always read the warranty terms carefully. Some warranties require the product to be used exclusively with certain replacement parts or accessories; using unofficial parts could void the coverage.
- Proof of Purchase: Keep your receipt or register your product online (if the option is available) to streamline the warranty service process.
When to Use the Warranty
- Manufacturing Defects: If your humidifier is not working due to a manufacturer defect, the warranty should cover the repair or replacement. In my case, I once noticed my humidifier was underperforming and upon closer inspection, found a flawed component that was covered under warranty, leading to a straightforward replacement.
- Limitations: Most warranties won’t cover normal wear and tear or damage from accidents or misuse. It’s crucial to understand these exclusions.
Seeking Out Professional Services
- Authorized Repair Centers: Utilising services from authorized repair centers is essential to retain your warranty. I ensure any needed repairs are conducted through reputable service providers who are recognized by the manufacturer.
- Know When to Repair or Replace: Sometimes, the cost of repair might approach the price of a new unit, especially outside of the warranty period. At that point, I consider if it’s more sensible to invest in a replacement with a fresh warranty.
Empower yourself by being informed about your humidifier’s warranty and service options. Doing so can save time, and money, and ensure your device continues to function optimally. Remember, if in doubt, it’s always better to reach out to the manufacturer or an authorized service center for advice. Best Air Purifier Buying Guide | What To Know
Frequently Asked Questions (FAQs) About Humidifier Issues
As we continue to expand our support for your humidifier needs, I’ve gathered some common questions many of you have asked and provided clear, step-by-step answers to ensure your humidifier is working optimally.
Why isn’t my humidifier producing any mist?
- If you’ve noticed your humidifier is not working by failing to produce mist, start by checking the water levels in the unit. Ensure it’s filled appropriately and the water tank is seated correctly. If the unit has water but still isn’t producing mist, it may be time to clean the ultrasonic nebulizer or evaporator pad, as mineral deposits can prevent mist from forming.
How often should I clean my humidifier?
- The recommended frequency can vary depending on usage and water quality, but generally, I suggest cleaning your humidifier at least once a week. If you’re using hard tap water, consider cleaning it more frequently to prevent mineral buildup.
What should I do if my humidifier has a foul odor?
- A foul odor is often a sign of bacterial growth. I recommend emptying the water tank, cleaning all parts with a mild dish soap solution, and rinsing thoroughly. For a deeper clean, using a mix of three parts water to one part white vinegar can help to disinfect the unit.
The fan is spinning, but there’s no mist. What does this mean?
- When there’s no mist but the fan is active, it could indicate an issue with the humidifier’s heating element or misting mechanism. Check to make sure there’s no clog in the misting nozzle. If cleaning doesn’t help, consult the manufacturer’s guide or consider reaching out to a professional for support, to avoid accidental damage.
Can I use essential oils in my humidifier?
- While we all love a soothing scent, most manufacturers recommend against using essential oils in a standard humidifier as they can damage the plastic and internal components. However, some models are designed for this purpose; be sure to check your humidifier’s manual before proceeding.
Wrapping It Up: Your Humidifier Health Handbook
By following this comprehensive guide, you can tackle almost any challenge with your humidifier. However, remember: if you’re ever unsure or the task is beyond your comfort zone—it’s best to seek out a professional.
Maintaining your humidifier doesn’t have to be complex. With the right knowledge and a bit of preventive care, you can keep the air in your home comfortable for years to come.
- Samsung Robot Vacuum Troubleshooting + Advice
- Instant Pot Problems, Best Guide To Fix
- Coffee Maker Cleaning for a Tastier Daily Brew
- How To Descale A Nespresso Machine: Instructions Guide
- Easy Dishwasher Cleaning: How to Remove Odors, Bacteria

I’m J.S., I created and am the content manager at DIYHouseSkills.com. I do the research and write the articles that appear on this website. I’ve learned many household skills during my life and think it’s important to at least know the basics so that you can save yourself time and money… READ FULL BIO >