
Cracked, crumbling, or discolored grout – the bane of any tiled surface’s existence. It not only detracts from aesthetics but can harbor mold and mildew, posing potential health risks. But fear not, homeowners! Grout replacement is an achievable project, and this guide will equip you to decide whether DIY is the right choice for you.
Is DIY Grout Replacement for You?
Before diving in, assess your skills, comfort level, and the project scope. Here’s a breakdown to help you decide:
Go DIY if:
- Small areas: Cracked grout in a shower niche or around a sink? If the affected area is small and easily accessible, DIY is a viable option.
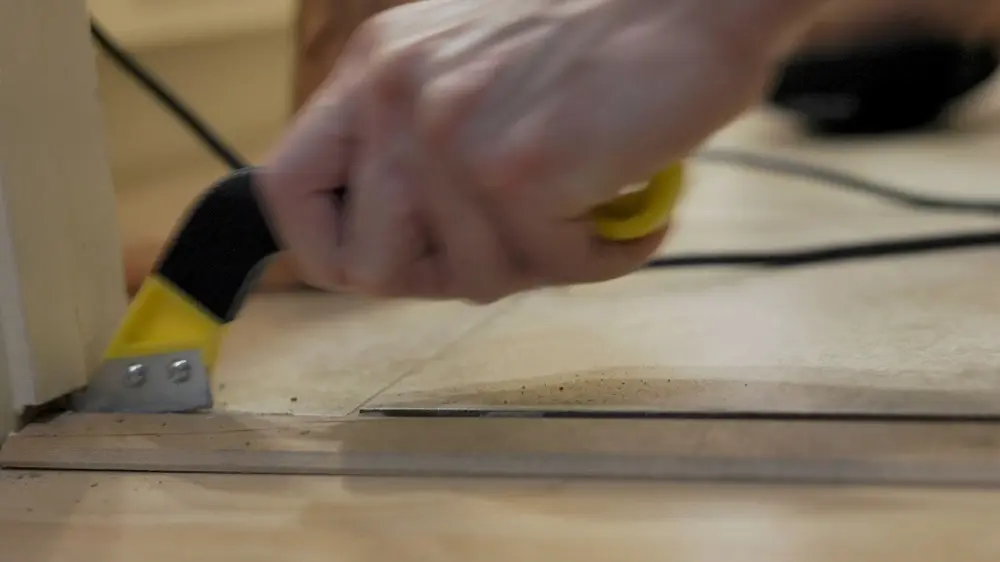
- Basic skills: Comfortable handling tools like grout removers, grout applicators, and sponges? You’ve got the foundation for a successful DIY project.
- Willingness to learn: Ready to research, watch tutorials, and ask for help if needed? A good learning attitude is key to DIY success.
- Budget-conscious: Replacing grout yourself can be significantly cheaper than hiring professionals, especially for smaller areas.
Consider hiring a professional if:
- Large areas: Extensive grout replacement throughout a bathroom or kitchen is a time-consuming and physically demanding task. Professionals have the experience and tools to tackle large projects efficiently.
- Complex repairs: Dealing with deep cracks, uneven surfaces, or damaged tiles requires expertise and specialized tools. Professionals can ensure proper repairs and prevent further issues.
- Time constraints: Short on time or have a busy schedule? Hiring a professional can save you valuable time and stress.
- Uncertain skills: If you’re unsure about your ability to handle the task or lack confidence, it’s best to seek professional help to avoid costly mistakes.
Choosing the Best Sealants for Your Projects
Deciding Factors:
- Type of grout: Epoxy grout requires more specialized tools and techniques, making it a better candidate for professional application.
- Tile type: Delicate or porous tiles require extra care and expertise during removal and regrouting.
- Underlying issues: If water damage or structural problems caused the grout issues, professional evaluation and repair might be necessary.
The DIY Grout Replacement Journey:
If you’ve decided to tackle the project yourself, here’s a roadmap to guide you:
Preparation:
- Gather tools: You’ll need a grout removal tool (oscillating multi-tool, grout saw, or manual scraper), grout float, sponge, bucket, safety glasses, gloves, and respirator.
- Protect the area: Cover fixtures, drains, and surrounding surfaces with plastic sheeting.
- Choose your grout: Select a grout suitable for your tiles and application (sanded vs. unsanded, epoxy vs. traditional).
- Test and practice: Test the grout removal tool on a small, inconspicuous area to get comfortable with its use.
Grout Removal:
- Work in sections: Tackle the grout removal in manageable sections to avoid overwhelming yourself.
- Be gentle: Remove the grout without damaging the surrounding tiles. Use the appropriate tool and technique for your chosen method.
- Clean thoroughly: Once the grout is removed, thoroughly clean the surface with a damp cloth or sponge to remove dust and debris.
Grouting:
- Mix the grout: Follow the manufacturer’s instructions for mixing the grout to the proper consistency.
- Apply the grout: Apply the grout diagonally across the tile joints, ensuring it fills them completely.
- Wipe and clean: Use a damp sponge to remove excess grout from the tile surfaces, working diagonally to avoid pulling grout out of the joints.
- Shape the joints: Use a grout float to shape the joints for a smooth, professional finish.
- Let it cure: Allow the grout to cure completely as per the manufacturer’s instructions before proceeding to the next step.
Pro tip: Choose a mold-resistant formula for extra protection. Can You Caulk Over Grout? Dos and Don’ts
Finishing Touches:
- Seal the grout: Apply a grout sealer to protect the grout from stains and moisture.
- Clean up: Remove any remaining grout residue and clean the work area thoroughly.
Bonus Tips:
- Watch online tutorials for visual demonstrations of the grouting process.
- Take your time and don’t rush the process.
- Don’t be afraid to ask for help from experienced DIYers or professionals if needed.
- Always wear safety gear to protect yourself from dust and debris.
Remember: Grout replacement can be a rewarding DIY project, but it requires careful planning, preparation, and execution. By assessing your skills, choosing the right tools and materials, and following these steps, you can achieve a revitalized tiled surface with a sense of accomplishment.
- DIY Secrets: Finding and Using the Bosch Ice Maker Reset Button
- Chest Freezer vs. Upright Freezer: Which Should You Buy?
- Say Goodbye to Stubborn Stains on Stainless Steel Pots
- Transform Your Morning Brew: Expert Tips for Better Coffee
- Effortlessly Remove Mold From Tile Grout with These Easy Steps

I’m J.S., I created and am the content manager at DIYHouseSkills.com. I do the research and write the articles that appear on this website. I’ve learned many household skills during my life and think it’s important to at least know the basics so that you can save yourself time and money… READ FULL BIO >
