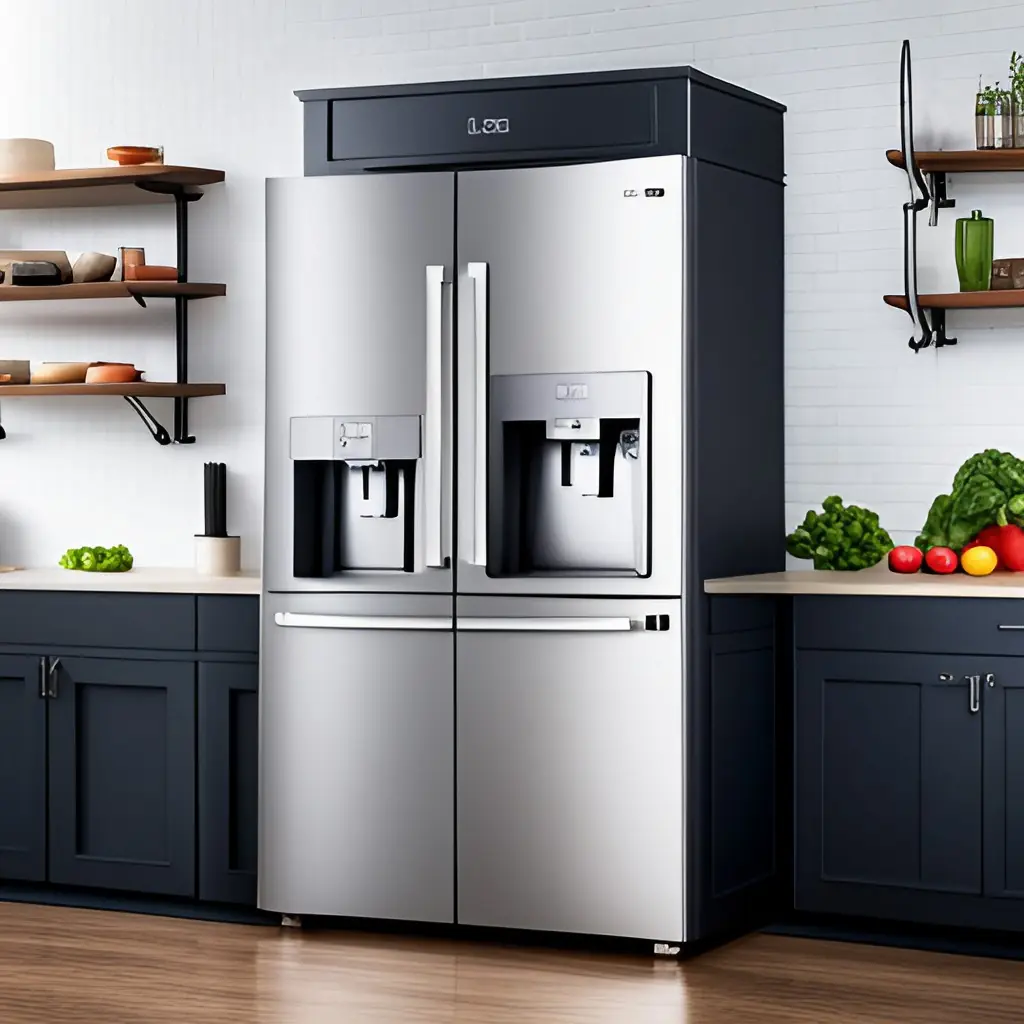
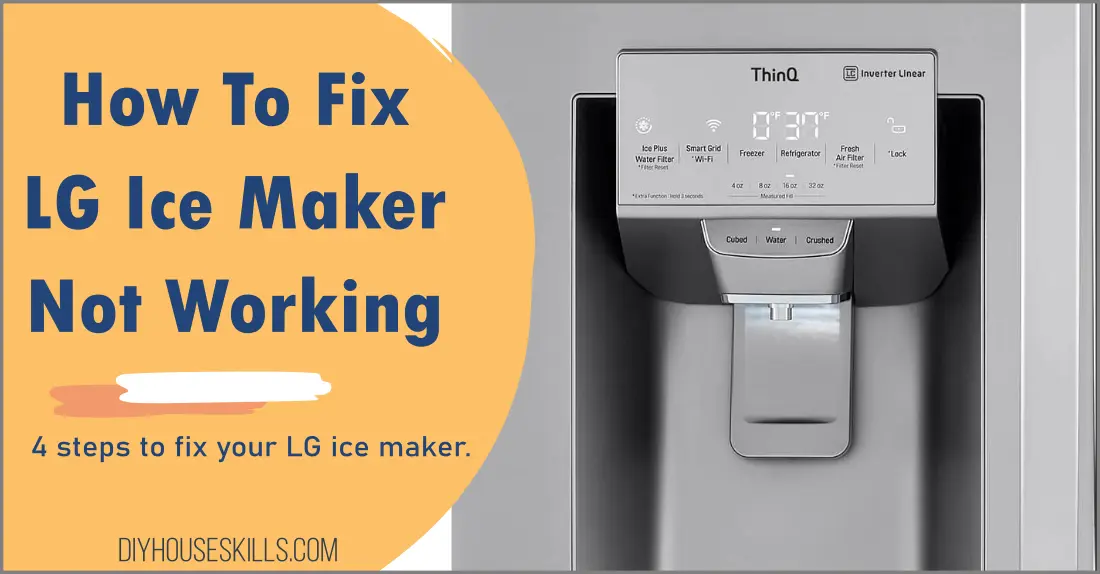
Is your LG Ice Maker not working? Are you having difficulty getting it to work again? In this blog post, we will discuss some troubleshooting techniques that you can use to fix the issue.
By understanding common problems with the machine and following our instructions, you can get your LG Ice Maker back up and running in no time. We will also provide information on how to get in touch with LG customer service if the problem persists.
And be sure to find out if an undercounter refrigerator or an indoor smokeless grill is worth it too in my DIY skills series of articles.
THIS POST MAY CONTAIN AFFILIATE LINKS. As an Amazon Associate, I earn from qualifying purchases. PLEASE READ MY DISCLOSURE FOR MORE INFO.
Note:
LG states that the “minimum recommended temperature to make ice is -4 Degrees Fahrenheit.”
If the freezer temperature is below this, the ice maker will not make ice. So adjust the control panel to the proper setting for making ice.
LG Ice Maker Not Working: How to Troubleshoot and Fix
See the 6 steps below to troubleshoot and fix your LG ice maker.
Step 1: Inspect the Water Supply Line
To start the process of figuring out why your LG Ice Maker isn’t working, the first thing to check is the water supply line.
It’s crucial to verify that it’s securely attached to the fridge’s rear and that the valve controlling the water supply is in the ‘on’ position. Furthermore, inspect the line for any kinks or bends, as these can obstruct the flow of water.
- Ensure it is connected properly to the back of the fridge and is turned on at the valve.
- Also, make sure the line is not kinked or bent which will prevent water from flowing.
If everything looks good, you’ll know that your water line is functioning correctly and you can move on to the next step of troubleshooting your fridge.
Step 2: Reset Your LG Ice Maker
If your LG fridge doesn’t seem to be dispensing ice, it could be that the ice maker needs resetting.
Open the LG fridge and make sure the ice maker is turned on. There is usually a switch on the ice maker itself or on the door display panel. If it is turned off, turn it back on and wait 24 hours to see if ice is produced.
Here’s a more detailed and comprehensive step-by-step guide on how to reset your LG Ice Maker correctly:
- Remove the ice bucket: The next step involves removing the ice bucket from the fridge. This bucket, which collects the ice, is usually located beneath the ice maker.
- Find the reset button: Look for your ice maker’s reset button. It’s typically quite small, so you may need to look closely. Its location can vary depending on the model of your fridge, but it’s usually found on the ice maker itself.
- Initiate the reset process: Press the reset button and hold it down for approximately 3 seconds. On some models, you might need to insert a safety pin into the reset button, or you may need to press the TEST/FILL button.
- Wait for the cycle to complete: Once you’ve pressed the reset button, a cycle will initiate. This cycle will clear out any ice that might be stuck within the ice maker.
By following these steps, you should be able to effectively reset your ice maker and hopefully solve the issue at hand. If you’re still having trouble, it might be time to move on to the next troubleshooting step.

Step 3: Replace the LG Water Filter
One of the more common reasons your LG Ice Maker might not be producing ice is due to a faulty or old water filter. A clogged filter can inhibit the flow of water, disrupting the ice-making process.
To replace the water filter:
- Locate the filter: The very first step in changing the water filter is to find its location inside your refrigerator. The filter is usually situated on the back wall or at the base grille of the fridge.
- Remove the old filter: Hold the filter and gently pull it out to remove it from its slot. Carefully discard the old filter.
- Install the new filter: Take your new water filter and insert it into the reserved slot. Apply pressure until it securely fits into place with a click sound.
- Purify the water line: Run water through the dispenser for a significant amount of time (approximately enough to discharge 4 gallons) or until the water runs clear. This is a crucial step in ensuring your water line is free from any remnants of the old filter.
LG recommends changing the water filter every 6 months. To purchase a new water filter, visit LG’s official store on Amazon.
Step 4: Clean the Condenser Coils
One of the critical aspects of maintaining your LG refrigerator’s efficiency is the regular cleaning of the condenser coils. These coils work overtime to keep your fridge cool, but when they accumulate dust and grime, it can impede the unit’s cooling capability and cause issues with ice production.
The condenser coils on an LG refrigerator are often located on the back panel or concealed behind the grille at the appliance’s bottom. Please be aware that the grille or access panel also houses other key parts, including the fan and compressor, so inspect everything carefully before removing any components.
A protective grille usually covers the coils, preventing unwanted dust and debris from settling on the coils. It’s an excellent practice to clean these coils regularly using a vacuum cleaner with a brush attachment. Checking the coil area for any blockages that could hinder the cooling efficiency is also essential, especially if you have an ice maker.
Here is a step-by-step guide on cleaning your LG refrigerator’s condenser coils:
- Unplug the refrigerator: It’s crucial to disconnect the fridge from the power source to avoid any potential electrical hazards.
- Vacuum the coils: Use a vacuum equipped with a brush attachment to remove any dust or debris from the coils.
- Wipe down the accessible areas: Use a cleaning cloth to wipe down any accessible areas for a more thorough cleanup.
- Reconnect the fridge: Once you’ve finished, plug the refrigerator back in and wait 24 hours to check if the ice production resumes.
Note: Cleaning the condenser coils requires a degree of caution to avoid accidental damage or electrical shock. Always remember to disconnect the fridge from the power source before beginning the cleanup. It’s also advisable to wear gloves to protect your hands. Moreover, be sure to inspect for any loose parts or screws, and give extra attention to areas directly associated with electric supply. Avoid bending or breaking any of the coils during the cleaning process as it could lead to permanent damage to the refrigerator.
ALSO READ: KitchenAid Refrigerator Ice Maker Troubleshooting
Step 5: Inspect the Ice Maker Mechanism
Sometimes, the problem with your LG Ice Maker might be due to a mechanical issue. The ice maker is a complex component containing numerous parts, including gears, heaters, and sensors, which operate in concert to create ice. If any part of this mechanism malfunctions, it can interrupt the ice-making process.
To inspect the ice maker mechanism:
- Unplug the refrigerator: As always, safety first. Unplug your refrigerator before starting any inspections.
- Remove the ice maker: Once the refrigerator is unplugged, locate and unscrew the ice maker assembly. Carefully pull it out.
- Inspect the components: Inspect the parts of the ice maker, looking for any signs of wear or damage. Pay close attention to the gears and the ice ejector arm.
- Replace if necessary: If you notice any worn-out or broken parts, these will need to be replaced. Order the necessary parts from LG or a trusted parts retailer.
Step 6: Contact a Professional
If all the above steps fail to resolve the issue, it might be time to seek professional help. An LG Authorized Repair Service can diagnose and fix any underlying problems with your LG Ice Maker. It’s crucial to consult an authorized service provider to maintain the warranty of your refrigerator.
To contact a professional:
- Find an authorized repair service: Visit the LG website and navigate to the ‘Support’ section to find an authorized repair service.
- Schedule a visit: Contact the service provider and schedule an appointment. Provide them with details of your issue and any troubleshooting steps you’ve already taken.
- Wait for the diagnosis and repair: A professional will visit your home to inspect your LG Ice Maker, diagnose the issue, and perform the necessary repairs.
Remember, while it can be helpful to troubleshoot and resolve minor issues yourself, more complex problems require the attention of a professional. Attempting repairs beyond your skills can result in further damage to your appliance and potential safety risks.

Advanced Troubleshooting Techniques
If your LG ice maker is still not functioning, despite following the previous steps, here are additional troubleshooting techniques you may want to try.
1. Verifying Freezer Temperature:
Firstly, for the ice maker to operate effectively, the freezer temperature should be kept at least at -4 degrees Fahrenheit.
If the temperature is higher, it could lead to softer ice which doesn’t form properly. The freezer temperature can be adjusted using the + or – buttons on the control panel. Remember, it can take a few hours for the freezer to reach the adjusted temperature.
2. Checking the Shutoff Arm:
Most ice makers come equipped with a shutoff arm. It’s a lever that signals the ice maker to stop producing ice.
If this arm is raised, it halts the production of ice. Confirm the position of this arm. If it’s in the upward position, lower it and then wait for 24 hours to see if the ice production resumes.
3. Addressing Bad-Tasting Ice:
Lastly, if your ice maker successfully produces ice, but the output tastes unpleasant, there are specific steps you can follow to rectify this issue.
By following these advanced troubleshooting techniques, you can tackle some of the more complex issues with your LG ice maker. However, if you’re still facing problems, it’s advisable to contact a professional for further assistance.
ALSO READ: Frigidaire Ice Maker Troubleshooting | Advice
Understanding LG Refrigerator Error Codes
LG refrigerators utilize a series of error codes to communicate the presence of issues within the system. These codes are usually displayed on the LCD control panel of the refrigerator, and they provide valuable insights into the nature of the existing problem.
If a problem arises in your LG refrigerator, you may see an “ER”, “E”, or “r” followed by an error code that identifies the specific issue.
Here are some of the frequently encountered LG error codes:
| 15 | Ice maker fan motor/sensor |
| 22 | Compressor relay |
| 67 | Door not closed properly |
| CO | Control board communications error |
| dH | Defrost issue. Unplug fridge for 2 minutes |
| FF | Freezer fan issue |
| C1 | LCD communications error |
| FS | Freezer sensor issue |
| gF | Water flow sensor error |
Familiarizing yourself with these common LG error codes can help you pinpoint and troubleshoot issues within your refrigerator more efficiently.
How To Get In Touch With LG Customer Service
If you have tried all of the troubleshooting steps above and your LG ice maker still isn’t working, it may be time to call customer service.
LG offers several pathways to get in touch with their support team.
You can reach out to them via phone call at this number: (800) 243-0000.
Alternatively, LG also provides an online chat service for faster and more convenient support. You can access this feature on their official website.

I’m J.S., I created and am the content manager at DIYHouseSkills.com. I do the research and write the articles that appear on this website. I’ve learned many household skills during my life and think it’s important to at least know the basics so that you can save yourself time and money… READ FULL BIO >
- Samsung Robot Vacuum Troubleshooting + AdviceSamsung robot vacuum troubleshooting is for anyone experiencing issues with their POWERbot vacuum. Answers to your Samsung robot vacuum problems are covered in my article as I discuss the most common issues users have. Troubleshooting Samsung POWERbot Vacuums Robot vacuum problems can be a real headache. These intelligent devices make life easier when operating as expected. However, when issues arise it can be difficult to… Read more: Samsung Robot Vacuum Troubleshooting + Advice
- Instant Pot Problems, Best Guide To FixUpdated: 10/29/2022 It’s no fun when you attempt to use your Instant Pot and discover some problems with it. Whether it is not sealing correctly, leaking, or you see error codes, this guide will help you troubleshoot and fix those issues to get you back to cooking. Users of all levels can resolve their Instant Pot problems with my step-by-step guide such as fixing error… Read more: Instant Pot Problems, Best Guide To Fix
- Coffee Maker Cleaning for a Tastier Daily BrewDespite their importance in our morning routines, coffee makers are often overlooked when it comes to regular cleaning. However, neglecting to clean your coffee maker can have a significant impact on the quality and healthiness of your daily brew. In this post, we will explore the reasons why regular cleaning of your coffee maker is crucial. We will provide a simple and effective cleaning method,… Read more: Coffee Maker Cleaning for a Tastier Daily Brew
- How To Descale A Nespresso Machine: Instructions GuideTo help you maintain peak performance from your Nespresso machine, we’ve put together this guide on descaling. Follow these steps diligently to keep your coffee experience at its best As a proud owner of a Nespresso machine, you already know the joy it brings to your morning routine. The rich aroma and velvety smooth taste of each cup are unparalleled. However, to ensure that your… Read more: How To Descale A Nespresso Machine: Instructions Guide
- Easy Dishwasher Cleaning: How to Remove Odors, BacteriaThe best guide for easy dishwasher cleaning Your dishwasher is one of the most important appliances in your home. Not only does it make clean-up a breeze, but it also helps to keep your dishes clean and bacteria-free. However, if you don’t clean it on a regular basis, it can become a cesspool of bacteria, fungus, and odors. In this blog post, we will discuss… Read more: Easy Dishwasher Cleaning: How to Remove Odors, Bacteria


