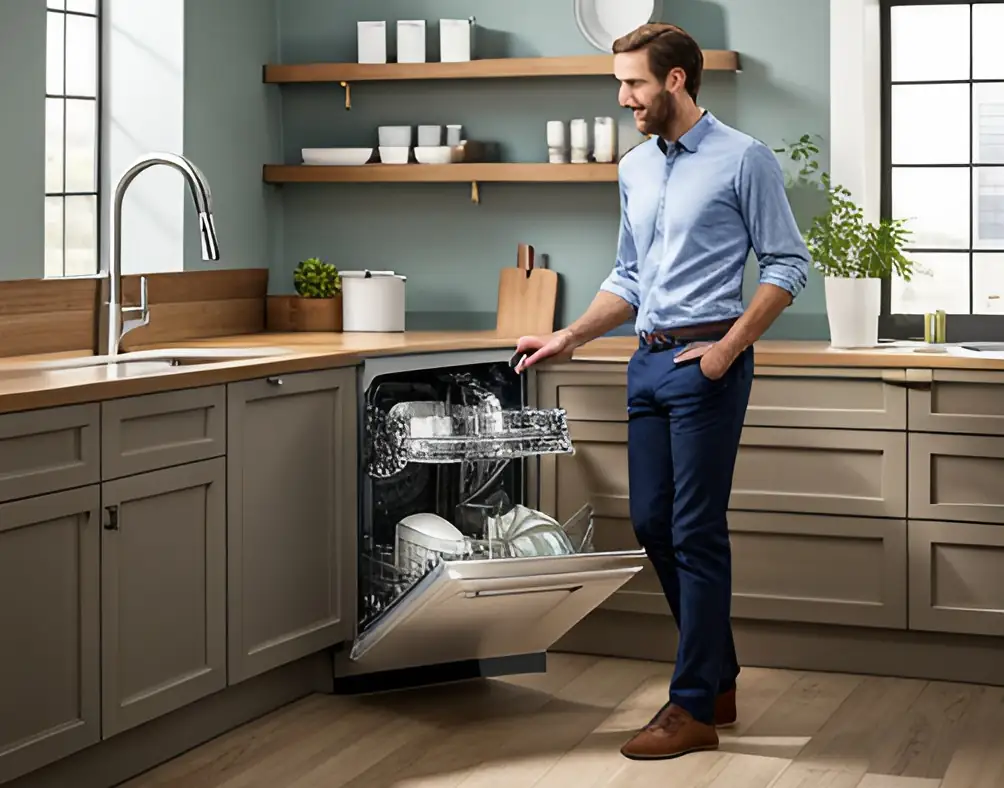
Troubleshoot Like a Pro: A Comprehensive Guide to Fix Whirlpool Dishwasher Issues
• No More Repairs: Solve Common Whirlpool Dishwasher Problems With Our Easy Tutorial
• Whirlpool Dishwasher Diagnosis: A Step-By-Step Guide to Troubleshooting Issues
Is your Whirlpool dishwasher giving you a hard time? In this comprehensive troubleshooting guide, we will dive into the nitty-gritty of common issues that plague Whirlpool dishwashers and provide you with expert solutions to get your trusty appliance back up and running.
From mysterious leaks and perplexing error codes to stubborn stains and malfunctioning controls, no problem is too big for us to tackle.
- Understand the Basics of Whirlpool Dishwasher Troubleshooting
- Power Issues and Solutions
- Not Cleaning Dishes Properly: Causes and Solutions
- Water Supply Problems and Solutions
- Water Leakage or Pooling Inside the Dishwasher
- Motor Issues and Solutions
- Detergent Dispensing Issues and Solutions
- Dish Rack Issues and Solutions
- Noise Issues and Solutions
- Heating Element Problems and Solutions
- Drainage Issues and Solutions
- Door Latch Problems and Solutions
- Error Code Troubleshooting
- Advanced Troubleshooting Techniques
- When Professional Help is Needed
- Contacting Whirlpool Support
- Conclusion
Understand the Basics of Whirlpool Dishwasher Troubleshooting
Let’s delve into the common problems you may encounter with your Whirlpool dishwasher and the essential tools you’ll need for successful troubleshooting.
Common Problems
- Not Starting or Power Issues: Sometimes, your dishwasher may not start at all or experience intermittent power problems.
- Not Cleaning Dishes Properly: This is a common problem where the dishwasher fails to clean the dishes effectively.
- Water Leaks: Leakage of water is another frequent issue that users face.
- Strange Noises: Unusual noises during operation can be a sign of internal problems.
- Error Codes: Sometimes, your dishwasher may display error codes suggesting specific issues.
Tools Needed
- Screwdriver Set: For opening internal panels and adjusting parts.
- Multimeter: To test electrical components for proper functioning.
- Wrench: For tightening or loosening parts.
- Pliers: Useful for removing or adjusting parts that are tough to grasp.
- Flashlight: To better see the internal parts of the dishwasher.
- Towels or Rags: For cleaning up any water or debris and preventing messes during the troubleshooting process.
Power Issues and Solutions
Moving on to another common issue, let’s delve into the frustrating experience of your dishwasher not cleaning your dishes effectively, and explore potential causes and solutions.
Possible Causes and Troubleshooting Steps
Power issues with your Whirlpool dishwasher can stem from various sources. It could be a problem with the electrical outlet, the circuit breaker, or even your dishwasher’s internal components. Here are some troubleshooting steps you can follow:
Check the Electrical Outlet
Before delving into the internal components of your dishwasher, it’s best to start with the basics. Plug another device into the electrical outlet to confirm if it’s working. If it isn’t, your dishwasher’s power issue might be due to a problematic outlet.
Reset the Circuit Breaker
If the electrical outlet is functioning correctly, the problem might lie with the circuit breaker. Try resetting it. If the circuit breaker for your dishwasher keeps tripping, it could indicate a more significant issue that may require a professional electrician.
Test Your GFCI Outlet
Sometimes, the Ground Fault Circuit Interrupter (GFCI) outlets may trip, leading to power issues with your dishwasher. Press the “Reset” button on the GFCI outlet to ensure it’s not the cause of the problem. If it trips again, you may need to replace it.
Check the Dishwasher’s Power Cord and Control Panel
If the issue persists, check the dishwasher’s power cord for damage. Also, inspect the control panel for any indications of malfunction. If the panel is unresponsive or displays error codes, you may need to consult a professional.
Remember, safety first! Always ensure you disconnect the power before performing any troubleshooting steps involving electrical parts.
Related: [Most Common] Dishwasher Problems and How to Fix Them
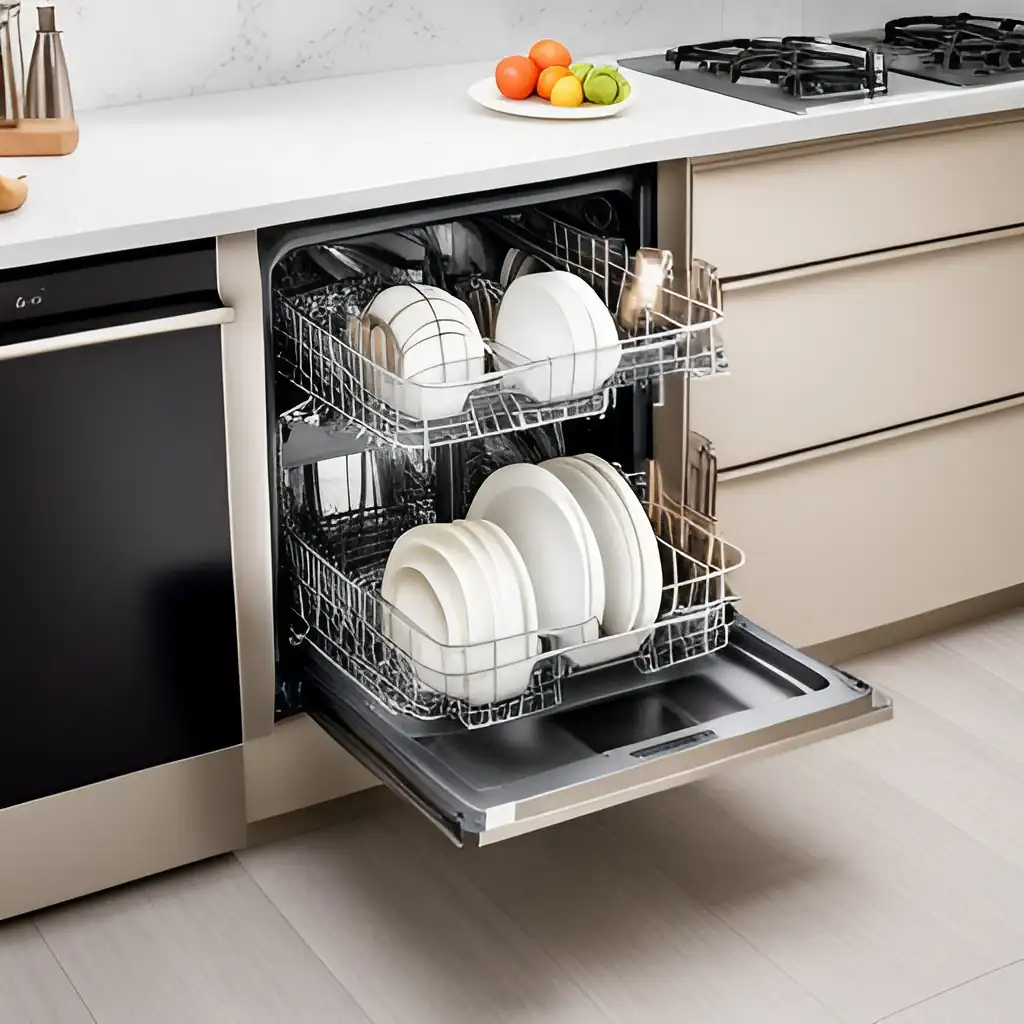
Not Cleaning Dishes Properly: Causes and Solutions
If your dishes are coming out of the Whirlpool dishwasher still dirty, it could be due to a number of reasons. Let’s dive into the common causes and their solutions.
1. Spray Arm Issues
The spray arm in your dishwasher is responsible for spraying water and detergent onto the dishes. If the spray arm is clogged or not spinning correctly, it won’t clean the dishes properly.
Solution: Inspect the spray arm for clogs or damage. If it’s clogged, you can use a toothpick or a piece of wire to carefully clean out the holes. If it’s not spinning correctly, you may need to replace it.
2. Detergent Dispenser Problems
If the detergent dispenser is not opening during the wash cycle or is clogged, it can prevent the dishes from getting clean.
Solution: Check the dispenser for any clogs or damage. If it’s clogged, clean it out. If it’s not opening properly, you may need to replace it.
3. Insufficient Water
If there is not enough water entering the dishwasher, the dishes will not be cleaned effectively.
Solution: Check the water inlet valve and the float switch. If these components are faulty, they may need to be replaced.
4. Incorrect Loading
Incorrect dish loading can prevent the water and detergent from reaching all the dishes, leaving some dirty.
Solution: Refer to the user manual for the correct way to load dishes in your specific model of Whirlpool dishwasher.
By following these steps, you should be able to identify and fix the issue causing your Whirlpool dishwasher to not clean dishes properly. However, if the problem persists, it might be time to call in a professional.
Related: Easy Dishwasher Cleaning: How to Remove Odors, Bacteria
Water Supply Problems and Solutions
Let’s now address another common issue with Whirlpool dishwashers: problems with the water supply.
Checking and Cleaning the Inlet Valve Screen
The inlet valve screen is a critical part of your dishwasher, ensuring that water from your household supply enters the dishwasher properly. If this screen becomes clogged, the dishwasher may not receive enough water to clean your dishes effectively. To check and clean the inlet valve screen, you should:
- Disconnect the dishwasher from the power source and turn off the water supply.
- Locate the inlet valve, which will typically be behind the lower kickplate.
- Disconnect the water supply line from the inlet valve and then remove the inlet valve from the dishwasher.
- Inspect the screen for debris or buildup. If necessary, clean the screen by gently scrubbing it with a soft brush under running water.
- Once clean, reinstall the inlet valve and reconnect the water supply line. Turn the water supply back on and restore power to the dishwasher.
Checking Water Pressure Levels at the Faucet
Low water pressure from your household supply can also prevent your dishwasher from filling properly. To check the water pressure levels at the faucet:
- Turn off all other water-using appliances in your home.
- Turn on the faucet that supplies water to your dishwasher.
- The water should come out in a strong, steady stream. If it doesn’t, this could mean that your home’s water pressure is too low. In this case, you may need to contact a plumber for assistance.
Checking for Blockages in the Hose or Pump Impeller Cavity
A blockage in the hose or pump impeller cavity can also prevent your dishwasher from filling with water. To check for a blockage:
- Disconnect the dishwasher from the power source and turn off the water supply.
- Disconnect the hose from the pump impeller cavity and check for any blockages.
- If you find a blockage, use a straightened wire coat hanger or similar tool to carefully remove it.
- Once any blockages have been removed, reconnect the hose and restore power and water to the dishwasher.
These steps should help you identify and resolve any water supply problems with your Whirlpool dishwasher. If you continue to experience issues, it may be time to consult a professional.
Water Leakage or Pooling Inside the Dishwasher
Leaking or pooling water inside your Whirlpool dishwasher can indicate a range of issues, each of which we’ll address with potential solutions and preventative measures.
1. Faulty Door Gasket
The door gasket ensures a watertight seal between the dishwasher tub and the door. If it’s worn out or damaged, water can leak out.
Solution: Inspect the door gasket for signs of wear or damage. If it’s faulty, it should be replaced.
2. Loose or Damaged Hoses
Hoses that are loose or damaged can cause water to pool at the bottom of your dishwasher.
Solution: Check all hoses, especially those connected to the pump and the water inlet. If any are loose, tighten them. If they’re damaged or cracked, they should be replaced.
3. Malfunctioning Float Switch
The float switch is responsible for detecting the water level inside the dishwasher. If it’s malfunctioning, the dishwasher may overfill, leading to leaks.
Solution: Check the float switch for signs of malfunction. If it’s stuck or damaged, it may need to be repaired or replaced.
4. Clogged or Broken Pump
A clogged or broken pump can cause water to back up and pool inside your dishwasher.
Solution: Check the pump for clogs or damage. If it’s clogged, try to remove the obstruction. If it’s broken, you may need to replace it.
By following these steps, you should be able to identify and fix the issue causing your Whirlpool dishwasher to leak or pool water. However, if the problem persists, it might be time to call in a professional.
Remember, always disconnect the power and turn off the water supply before attempting any troubleshooting steps with the dishwasher. Your safety is paramount.
Identifying the Source of a Leak
Having identified the possible causes of a leak, it’s essential to pinpoint the exact origin of the problem. To identify the source of a leak in your Whirlpool dishwasher, follow these steps:
- Dry the Inside: Before starting, dry the inside of your dishwasher completely. This will make it easier to identify new leaks.
- Check the Door: Start your dishwasher and observe the door. If there’s water seeping out from around it, the door gasket might be the cause.
- Inspect the Hoses: If the door and gasket are dry, turn off your dishwasher and unplug it. Remove the lower front panel and inspect the hoses for dampness or water droplets. If you spot any, this could indicate a leak in the hoses.
- Check the Pump and Float Switch: If there’s no sign of a leak in the hoses, check the pump and the float switch, visible within the same area. Signs of water around these components could indicate a problem there.
- Look for Puddles: Finally, observe if there’s a puddle under your dishwasher. Unexplained water beneath the appliance could indicate a leak from the bottom, possibly due to a cracked tub.
By performing these steps, you should be able to identify the potential source of a leak in your dishwasher. If you’re still unable to find the source or if the leak persists after implementing the solutions, it’s advisable to consult a professional technician.
Motor Issues and Solutions
Let’s now delve into the specifics of diagnosing and addressing motor-related issues in your Whirlpool dishwasher, starting with the verification of motor operation using a multimeter test.
Verifying Motor Operation with a Multimeter Test
The first step in diagnosing motor issues in your Whirlpool dishwasher is to verify motor operation using a multimeter test. Here’s how to conduct the test:
- Ensure safety first. Unplug the dishwasher and turn off the water supply.
- Locate the motor. Typically, it’s situated beneath the dishwasher, and you can access it by removing the lower front panel.
- Disconnect the wires attached to the motor. Now, set the multimeter to test resistance (ohms).
- Place each probe of the multimeter on a motor terminal. The exact reading may vary, but a functioning motor will typically show a resistance between 20 and 50 ohms.
- If your motor does not show any resistance, this indicates that the motor is faulty and likely needs replacement.
Troubleshooting Motor Relay Cables
If the multimeter test shows that the motor is functional, but the motor is still not running, the problem may lie in the motor relay cables. Here’s how to troubleshoot:
- Locate the motor relay, usually found near the motor.
- Inspect the cables for any visible signs of damage, like fraying or discoloration.
- If the cables are in good condition, check for a loose connection. Tighten any loose connections you find.
- If the cables are damaged, they will need replacing. Always be sure to replace them with cables of the same type and specifications for safety and compatibility.
Bear in mind, that if you have conducted these tests and the motor is still not functioning correctly, it’s advisable to consult a professional. Dishwasher motors are complex components, and attempting to repair them without the necessary expertise can lead to more damage or a potential safety hazard.
Detergent Dispensing Issues and Solutions
Let’s now explore some common detergent dispensing issues in your Whirlpool dishwasher and provide you with some practical solutions to address them.
Detergent Dispensing Issues and Their Impact on Cleaning Performance
Detergent dispensing issues in your Whirlpool dishwasher can have a significant impact on its cleaning performance. If the dishwasher is not releasing the detergent at the correct time or not at all, it will not be able to thoroughly clean your dishes.
Causes of Detergent Dispensing Issues
There are several reasons why your dishwasher may be experiencing detergent dispensing issues:
- Blocked Dispenser Cup: Over time, the dispenser cup can become clogged with old detergent. This blockage can prevent the dishwasher from releasing the correct amount of detergent during a wash cycle.
- Faulty Dispenser Door: If the dispenser door is not opening correctly, the detergent will not be released into the dishwasher. This could be due to a broken latch, a malfunctioning spring, or a problem with the timer or bi-metal release.
- Incorrect Loading of Dishes: If dishes are not loaded correctly, they can block the dispenser door, preventing the detergent from being released.
- Low-Quality Detergent: Using a low-quality detergent can result in poor cleaning performance. Some detergents do not dissolve properly and can even clog the dispenser.
Solutions to Detergent Dispensing Issues
- Clean the Dispenser Cup: Regularly cleaning the dispenser cup can prevent clogs. Use a small brush to scrub away old detergent and rinse thoroughly.
- Replace or Repair the Dispenser Door: If the door is broken or not functioning properly, it may need to be repaired or replaced.
- Load Dishes Correctly: Ensure that dishes are not blocking the dispenser. Refer to your dishwasher’s manual for proper loading techniques.
- Use High-Quality Detergent: Invest in a high-quality dishwasher detergent to ensure it dissolves properly and does not clog the dispenser.
By addressing these issues, you should be able to improve the detergent dispensing and overall cleaning performance of your Whirlpool dishwasher. However, if problems persist, consider consulting with a professional.
Dish Rack Issues and Solutions
Let’s delve into dish rack issues in your Whirlpool dishwasher and the corresponding solutions to ensure optimum loading capacity and functionality.
Understanding Dish Rack Issues
Dish rack issues can come in a variety of forms, from minor inconveniences to significant problems that limit your dishwasher’s functionality. Here are some common issues and their corresponding solutions:
Misaligned Dish Rack
A misaligned rack can make loading and unloading your dishes difficult and can even lead to damage. This often occurs if the rack’s rollers or wheels are broken or if the rack has somehow been knocked out of its tracks.
Solution: Check the rollers or wheels for damage and replace them if needed. Make sure the rack is properly aligned in its tracks. If it continues to misalign, there may be an issue with the tracks themselves and you may need to consider a replacement.
Broken or Rusty Rack
Over time, parts of your dish rack may break or start to rust. This can lead to an unstable rack that can’t adequately support your dishes, potentially causing them to slip or tip over during a cycle.
Solution: Inspect your rack regularly for signs of wear and tear. If parts of the rack are broken or starting to rust, consider replacing those parts or the entire rack if necessary.
Limited Space or Poor Rack Design
You may find that your dishwasher’s rack doesn’t accommodate your dishes well due to limited space or a poor design. This can make it difficult to load your dishwasher efficiently, and may also result in poorly cleaned dishes.
Solution: If your dishwasher has an adjustable rack, optimize its position to best suit your dishes. Some dishwashers also have foldable tines that you can adjust to better accommodate larger items.
Always remember to load your dishes in a way that allows water and detergent to reach all surfaces. Avoid overcrowding your dishes and ensure that they are not nesting within each other.
By understanding and addressing these dish rack issues, you can enhance the functionality and lifespan of your Whirlpool dishwasher. However, if problems persist, don’t hesitate to reach out to a professional technician.
Noise Issues and Solutions
Let’s now delve into one of the common issues with dishwashers: noise, understanding its common causes, and effective troubleshooting methods to address it.
Understanding Noise Issues
Noise-related issues are a frequent complaint among dishwasher users. The noise can range from occasional rattling or clanking to continuous humming, buzzing, or even loud grinding. Although some noise is expected during normal operation, excessive or unusual noise can indicate a problem that needs to be addressed.
Causes of Noise Issues
There are several reasons why your dishwasher might be generating excessive noise:
- Loose Utensils: Loose utensils that fall from the basket can create a rattling sound.
- Wash Arm Hit: If the wash arm is hitting something during the cycle, it can create a repetitive noise.
- Defective Pump: If the dishwasher’s pump is faulty, it can create a humming or growling sound.
- Damaged Bearings: Damaged bearings in the dishwasher motor can generate a loud grinding noise.
Identifying the Source of Noise
Identifying the source of the noise can help in determining the appropriate solution. Here are some steps you can take to identify the noise source:
- Run an Empty Cycle: Running an empty cycle can help identify if the noise is being caused by loose utensils or dishware.
- Check the Wash Arm: Inspect the wash arm to see if it’s hitting something. You may need to adjust the way you load your dishes.
- Inspect the Pump: If you hear a humming or growling sound, inspect the dishwasher’s pump or have a professional do so.
- Check the Motor Bearings: If you’re hearing a grinding noise, it might be due to damaged motor bearings.
Inspecting and Replacing Defective Parts
- Loose Utensils and Wash Arm: For noise due to loose utensils or the wash arm hitting something, make sure to secure all utensils and adjust dish loading as necessary.
- Faulty Pump: In case of a defective pump, you may need to replace it. It’s advisable to involve a professional for pump replacement.
- Damaged Bearings: If the bearings are damaged, replacing the motor is usually the most effective solution. Again, due to the complexity of this task, it’s best to hire a professional.
By understanding these noise issues and acting promptly, you can help maintain the functionality and extend the lifespan of your Whirlpool dishwasher.
Heating Element Problems and Solutions
Let’s talk about the issues related to the heating element in your Whirlpool dishwasher and discuss how to test and replace a faulty heating element.
Understanding Heating Element Issues
The heating element in your dishwasher is responsible for heating the water and air inside. If you notice your dishes aren’t cleaned properly, or the dishwasher doesn’t dry your dishes, a faulty heating element could be the culprit.
Possible Signs of Heating Element Issues
- Dishes remain dirty after a complete cycle.
- Dishes are not dry at the end of the cycle.
- Dishwasher does not reach the proper temperature.
How to Test a Heating Element
Testing a heating element might sound daunting, but with an ohmmeter, it’s a straightforward process:
- Disconnect the dishwasher from the power source. Safety should always be your priority.
- Locate the heating element. It’s usually located at the bottom of the dishwasher.
- Disconnect the heating element from the wires attached to it.
- Set your ohmmeter to the R x 1 scale and touch each probe to one end of the element. If the element is working properly, it should read between 15 and 30 ohms. If the reading is outside this range or if it’s infinite, the element is faulty and needs to be replaced.
How to Replace a Heating Element
- Purchase a new heating element that matches the model of your Whirlpool dishwasher.
- Disconnect the dishwasher from the power source.
- Remove the lower dish rack to access the heating element.
- Use a wrench to remove the nuts that hold the heating element in place.
- Pull the heating element out of the dishwasher.
- Install the new heating element, making sure it’s positioned correctly.
- Replace the nuts that hold the heating element in place and reattach the wires.
- Replace the lower dish rack and reconnect the dishwasher to the power source.
Once you’ve replaced the heating element, run a short cycle to ensure the dishwasher is heating properly. If you’re still experiencing issues, it may be time to call in a professional technician.
Drainage Issues and Solutions
a. Check and Clean the Drain Hose
b. Inspect and Clear the Drain Pump
Now, let’s explore the common drainage issues that can occur with your Whirlpool dishwasher and discuss effective solutions to tackle them.
Understanding Drainage Issues
Drainage issues are another common problem with dishwashers. If your Whirlpool dishwasher isn’t draining properly or at all, it’s usually due to a blockage somewhere in the system.
Signs of Drainage Issues
- Water remains in the bottom of the dishwasher after the cycle.
- The dishwasher makes noise, but no water drains out.
- The cycle doesn’t finish or takes longer than usual.
Checking and Cleaning the Drain Hose
The drain hose could be the source of the blockage. Here’s how to check and clean it:
- Disconnect the dishwasher from the power source.
- Locate the drain hose. It’s usually at the back of the dishwasher and runs to the drain.
- Detach the drain hose and use a straightened coat hanger or a long brush to dislodge any blockages.
- Rinse the hose with warm water and reattach it to the dishwasher.
Inspecting and Clearing the Drain Pump
The drain pump can also harbor blockages. Here’s how to inspect and clear it:
- Disconnect the dishwasher from the power source.
- Remove the lower dish rack and the filter system to access the drain pump.
- Check for any visible debris or blockages and remove them.
- If necessary, remove the drain pump for a more thorough cleaning. It’s important to note this may require some technical knowledge, and you may want to consider hiring a professional if you’re not comfortable performing this task.
Resolving drainage problems in your Whirlpool dishwasher is something I’ve tackled often, and it can make a big difference in how efficiently your appliance runs, possibly even extending its lifespan.
Tip: Running a Drain Cycle
Here’s a tip from me: running a drain cycle is a pretty straight-shot method to clear any clogs.
- To do this, simply reset your dishwasher by pressing the “Start/Reset” or “Cancel/Drain” button on the control panel and hold it down for about 3 seconds.
- This act cancels any ongoing cycles and kicks off a drain cycle.
- Give it around 2 minutes – you’ll know it’s done when you no longer hear water draining and the “Clean” light switches on.
- Afterward, open the dishwasher to check if there’s still water at the bottom.
If it’s clear, you’ve nailed the drain cycle. I always remind people to consult their user manual for model-specific instructions, just to stay on the safe side.
Door Latch Problems and Solutions
Moving on to door latch issues – another common problem I see with Whirlpool dishwashers.
A properly functioning door latch is critical, and if yours is broken or misaligned, it could prevent your dishwasher from starting or cause it to stop mid-cycle.
Some telltale signs include difficulty in closing the dishwasher door or noticing a broken or loose latch.
Understanding Door Latch Issues
Here’s how I handle minor latch adjustments:
- First, make sure to disconnect the dishwasher from the power source.
- Then, open up the door and locate the latch. If it appears loose, grab a screwdriver and tighten those screws.
- Misalignment can also be an issue, so if that’s the case, adjust accordingly before tightening everything back up.
- It’s always good to test the latch a few times to ensure it’s working correctly after your adjustments.
In cases where the latch is beyond a simple fix and needs replacing, start by buying the right latch assembly for your model.
After ensuring the dishwasher is disconnected from power, open the door and remove the screws that attach the inner door panel to the outer one.
This should expose the latch assembly.
Then, disconnect the wires, remove the old assembly, and put in the new one, ensuring the wires are connected properly before reassembling the door.
I always end with a note about maintaining a functional door latch for smooth operations. And, if the DIY route doesn’t cut it, it might be time to call in a pro.
A functioning door latch is critical for the operation of your Whirlpool dishwasher. If the door latch is broken or misaligned, your dishwasher may not start or may stop in the middle of a cycle.
Signs of Door Latch Issues
- The dishwasher door doesn’t close properly.
- The dishwasher doesn’t start or stops during a cycle.
- You notice a broken or loose latch when opening or closing the door.
Adjusting the Door Latch
Minor issues with the door latch can often be resolved by making some adjustments:
- Disconnect the dishwasher from the power source.
- Open the dishwasher door and locate the door latch.
- Inspect the latch to see if it’s loose. If so, use a screwdriver to tighten the screws.
- Check the alignment of the latch. If it’s misaligned, adjust it to the correct position and tighten the screws.
- Close and open the door a few times to ensure the latch is working properly.
Replacing a Damaged Latch Assembly
If the door latch is broken, you may need to replace the latch assembly:
- Purchase a new latch assembly that matches the model of your Whirlpool dishwasher.
- Disconnect the dishwasher from the power source.
- Open the dishwasher door and use a screwdriver to remove the screws that hold the inner door panel to the outer door panel.
- Lift the inner door panel to expose the door latch assembly.
- Disconnect the wires connected to the latch assembly and remove the old assembly.
- Install the new latch assembly, reattach the wires, and replace the inner door panel.
- Replace the screws and reconnect the dishwasher to the power source.
Maintaining a well-functioning door latch can ensure the smooth and efficient operation of your Whirlpool dishwasher. If you’re still facing issues, it’s recommended to reach out to a professional technician.
Error Code Troubleshooting
In this section, we will explore the typical error codes that you might come across when using your Whirlpool dishwasher. We will explain what these codes mean and offer solutions to resolve them.
Understanding Error Codes
Error codes are messages that display on your Whirlpool dishwasher’s control panel when the machine detects a problem. These codes serve as a diagnostic tool, helping you identify the source of the issue.
Common Error Codes and Their Meaning
- F2 E2: This code indicates a problem with the user interface or software issue. A possible solution might be a reset or software update.
- F4 E3: This code means that the machine is unable to drain. It could be due to a clogged drain hose or faulty drain pump.
- F7 E1: This code signifies a heating problem. It can be due to a faulty heating element or a malfunctioning thermostat.
Corrective Actions for Specific Error Codes
F2 E2:
- Disconnect the dishwasher from the power source for about one minute.
- Reconnect the power and observe if the error code still displays.
- If the problem persists, you may need to consult with a professional technician for a potential software update or user interface repair.
F4 E3:
- Follow the steps listed in the “Understanding Drainage Issues” section to check and clean the drain hose and drain pump.
- If the error code still displays after cleaning, you may need to replace the drain pump.
F7 E1:
- The heating element and thermostat should be inspected by a professional.
- If either component is faulty, it should be replaced.
Error codes can be extremely helpful in diagnosing problems with your Whirlpool dishwasher. However, if the suggested corrective actions do not resolve the issue, it’s recommended to contact a professional for further assistance.
Advanced Troubleshooting Techniques
In this section, we will explore advanced troubleshooting techniques for your Whirlpool dishwasher. Our focus will be on testing different components and implementing preventive maintenance measures to ensure optimal functionality.
Advanced Troubleshooting Techniques
One step beyond routine troubleshooting, advanced techniques delve into the core functioning components of your Whirlpool dishwasher. Here we’ll cover methods to test your dishwasher’s pump, motor, and heating element, as well as ways to maintain these parts. Bear in mind, that this should only be committed to by those comfortable with appliances’ technical aspects.
Testing Dishwasher Components
To test essential components like the pump, motor, and heating element, you’ll need a multimeter – a tool that measures electrical values. Always remember to disconnect the dishwasher from the power source before starting.
- Pump and Motor: Access the pump and motor by removing the dishwasher’s lower panel. Use the multimeter to check the resistance (Ohms) across the motor’s terminals. If there’s no reading, it indicates a faulty motor.
- Heating Element: The heating element is usually located beneath the dishwasher tub. Disconnect the wires connecting to it and use the multimeter to check for resistance. A lack of a reading can mean a defective heating element.
Always refer to your dishwasher’s manual for the correct Ohm reading ranges for each component. If any readings fall outside these ranges, consider replacement.
Preventive Maintenance Tips
Routine preventive maintenance can prolong your dishwasher’s lifespan and efficiency. Here’s what you can do:
- Clean the filter and spray arms: Regularly clean these parts to prevent food particles from blocking the water flow. Simply unscrew or unlatch, rinse under warm water, and replace.
- Check water inlet valves and hoses: Inspect for clogs, leaks, or damages every few months. A blocked valve can restrict water flow, while a leaking hose can lead to water wastage.
Remember, while these advanced troubleshooting techniques can be helpful, some issues may require a professional technician’s attention. If you’re unsure or uncomfortable performing these tasks, it’s better to seek professional help.
When Professional Help is Needed
Sometimes, despite your best efforts, you may not be able to resolve the issues with your Whirlpool dishwasher on your own. Here’s when you should consider seeking professional help:
When to Call a Professional Technician
- Persistent Error Codes: If the error codes keep displaying on your dishwasher’s control panel despite following the suggested corrective actions, it’s time to call in a professional. Their expertise can accurately diagnose and resolve the problem.
- Complex Repairs: If your dishwasher requires sophisticated repairs, such as replacing the pump, motor or heating element, it’s advisable to hire a professional. These tasks can be complicated and risky to handle without proper training and tools.
- Electrical Concerns: If you suspect an electrical problem, like a short circuit or faulty wiring, immediately seek help from a professional technician. Such issues can be dangerous and need to be addressed promptly.
- Consistent Poor Performance: If your dishwasher consistently performs poorly (not cleaning dishes properly, leaving residues, etc.), a professional can thoroughly inspect the unit and identify the underlying issue.
- Warranty Considerations: If your dishwasher is still under warranty, it’s always smarter to call a professional for servicing. Unauthorized or DIY repairs can void your warranty.
Remember, while DIY troubleshooting and maintenance can save time and money, safety and efficiency should always be your top priorities. When in doubt, don’t hesitate to seek professional help.
Contacting Whirlpool Support
If you need assistance from Whirlpool, there are several ways to get in touch with their support team:
- Customer Service Phone Number: You can call Whirlpool’s customer service line at 1-866-698-2538. They are available Monday through Friday, 8 a.m. to 8 p.m. Eastern Time.
- Live Chat: For real-time assistance, Whirlpool offers a live chat feature on their website. You can access this feature during their working hours.
- Email Support: You can send an email detailing your query or issue to Whirlpool’s customer service at whirlpool_customerexperience@whirlpool.com. They typically respond within 24 to 48 hours.
- Social Media: Whirlpool maintains a strong presence on social media platforms like Facebook, Twitter, and Instagram. You can reach out to them through these channels for support.
Remember, before contacting support, it’s helpful to have your dishwasher’s model number and serial number at hand to assist the support team in diagnosing and solving your problem more effectively.
Conclusion
Servicing your Whirlpool dishwasher might seem like a daunting task, but with the right tools and guidance, you can efficiently troubleshoot and maintain your appliance. The key is to understand when you can handle the issue and when it’s safer and more efficient to involve a professional technician. Remember, while DIY maintenance can be cost-effective, your safety should always be the priority. Regular preventive maintenance can also go a long way in prolonging the lifespan and performance of your dishwasher. Ultimately, if in doubt or when major issues arise, don’t hesitate to reach out to Whirlpool’s dedicated customer support for help.

I’m J.S., I created and am the content manager at DIYHouseSkills.com. I do the research and write the articles that appear on this website. I’ve learned many household skills during my life and think it’s important to at least know the basics so that you can save yourself time and money… READ FULL BIO >
- Outlet Not Working, Breaker Not Tripped | Advice
- How to Repair a Sage Coffee Machine
- Mastering the Power Drill: Tips for Effective & Safe Use
- Fixing Leaky Faucets: A Step-by-Step Guide
- Change Your Bathroom Sink Faucet The Easy Way
- Your Guide to DIY Door Handle Replacement
- Washer Won’t Drain Water – How to Troubleshoot and Fix
- Washing Machine Shakes or Bounces -Here’s How to Solve It